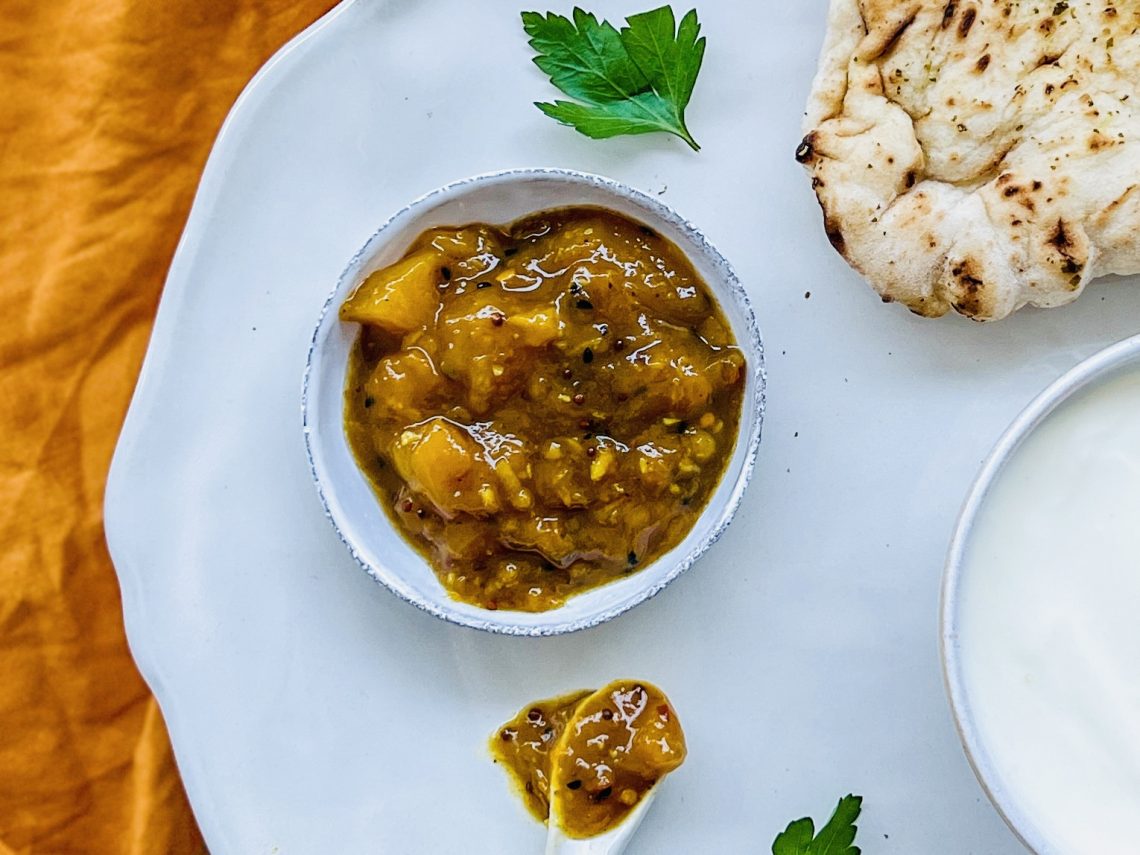
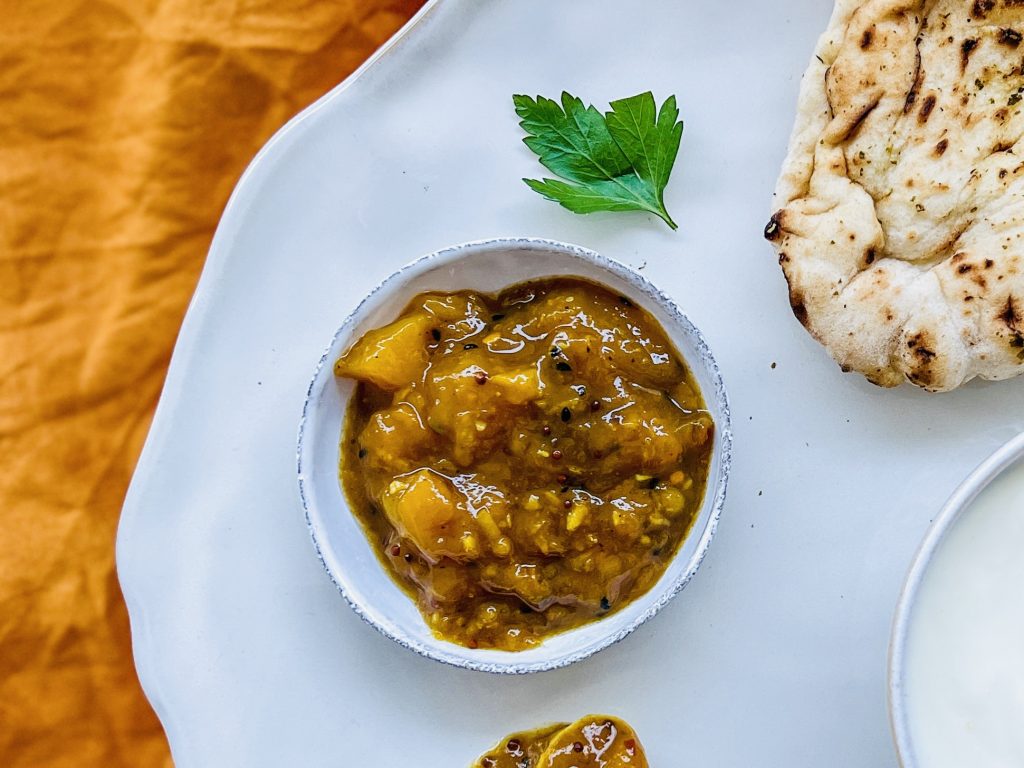
Mango Chutney
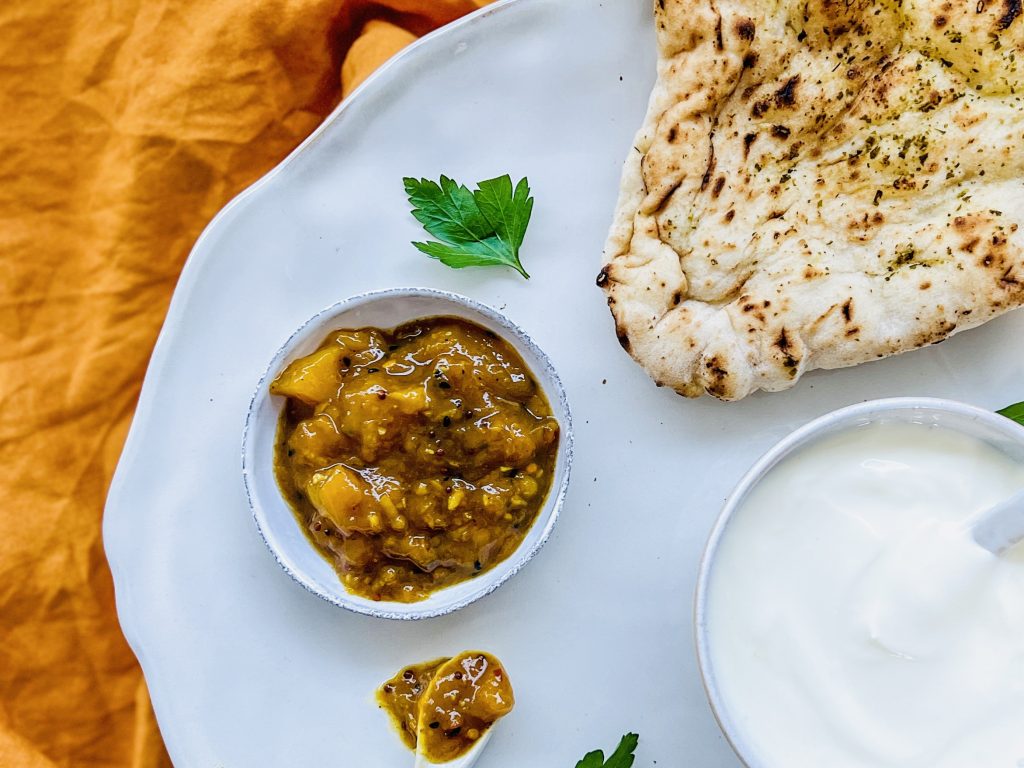
Fruity, sweet, savoury and spicy with a hit of ginger, and a tart kick from the tamarind and cider vinegar, this chutney is delicious, exceptionally easy to make and very versatile. To list just a few examples, it makes a fabulous accompaniment to grilled meats or fish, include it on a cheeseboard, serve with Indian food, in sandwiches, cheesy toasties or a side with a salad. The options are endless. It also makes a fabulous gift and I often include it in my Christmas hampers.
Notes on ingredients:
Although there is a long list of ingredients, most of them are spices, which, if you cook Indian food, you will probably have in the cupboard already. Plus, this recipe works as well with frozen mango as it does with fresh mango. Frozen mango is often cheaper than fresh in the UK and has the added advantage that it is frozen when ripe and sweet, so no need to wait for them to ripen in your fruit bowl.
Sterilising jam jars:
It is important that you store the chutney in glass jars which have been sterilised. Details of how to do this are included in the recipe. It is also important to remember that the jars must be very hot when filling them with the very hot chutney. If you have sterilised the jars prior to making the chutney, be sure to re-heat them. If you do not, they are likely to shatter or crack when adding anything very hot. Equally, you must never put glass jars into a pre-heated oven or they could shatter or crack. Put them into a cold oven and then switch it on to heat up. This way they will heat up gradually.
How to make Mango Chutney
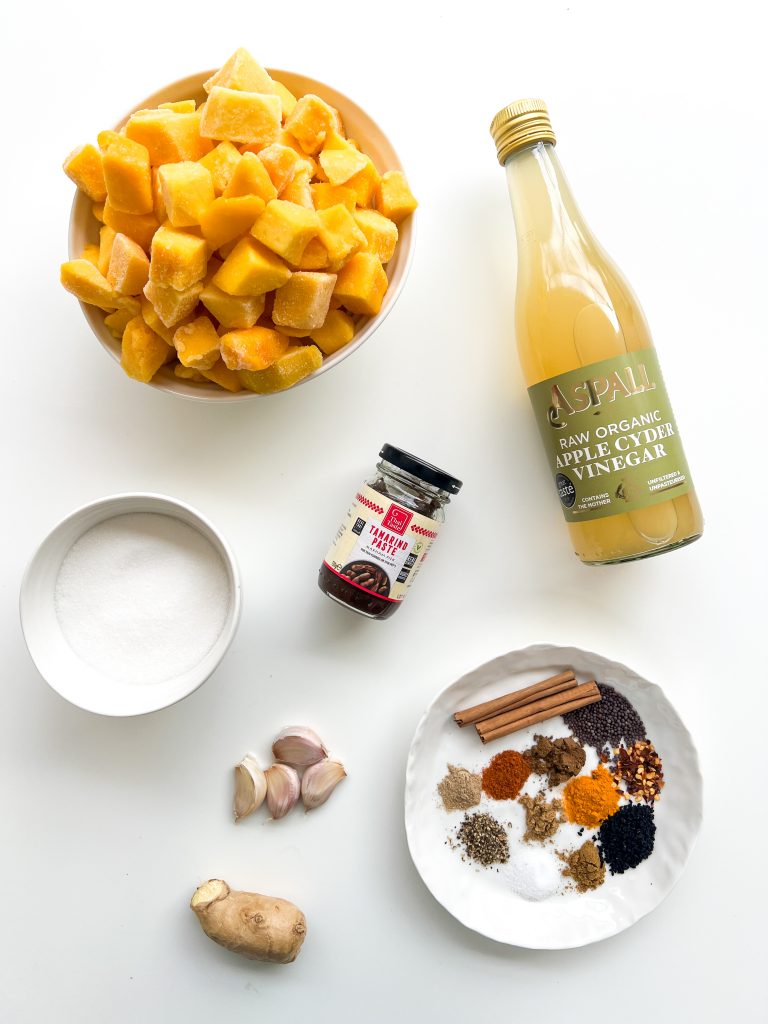
Collect all the ingredients together:
- fresh, ripe mango, skin and stone removed, flesh chopped – or use frozen
- garlic, peeled and finely chopped or crushed
- peeled ginger, finely chopped or grated
- cider vinegar
- tamarind paste
- cinnamon bark/stick
- black mustard seeds
- black onion seeds
- garam masala
- chilli flakes
- cardamom powder
- coriander powder
- chilli powder
- cumin powder
- fine salt
- freshly ground black pepper
- caster sugar
You will also need:
- a range of glass jam jars and lids – 3 – 8 jars depending on size
- jam funnel
- large jug
- wax discs (optional)
How to make this flavour bomb:
- Start making the chutney: blitz the garlic and ginger in a food processor until very finely chopped. Alternatively, crush the garlic and grate the ginger.
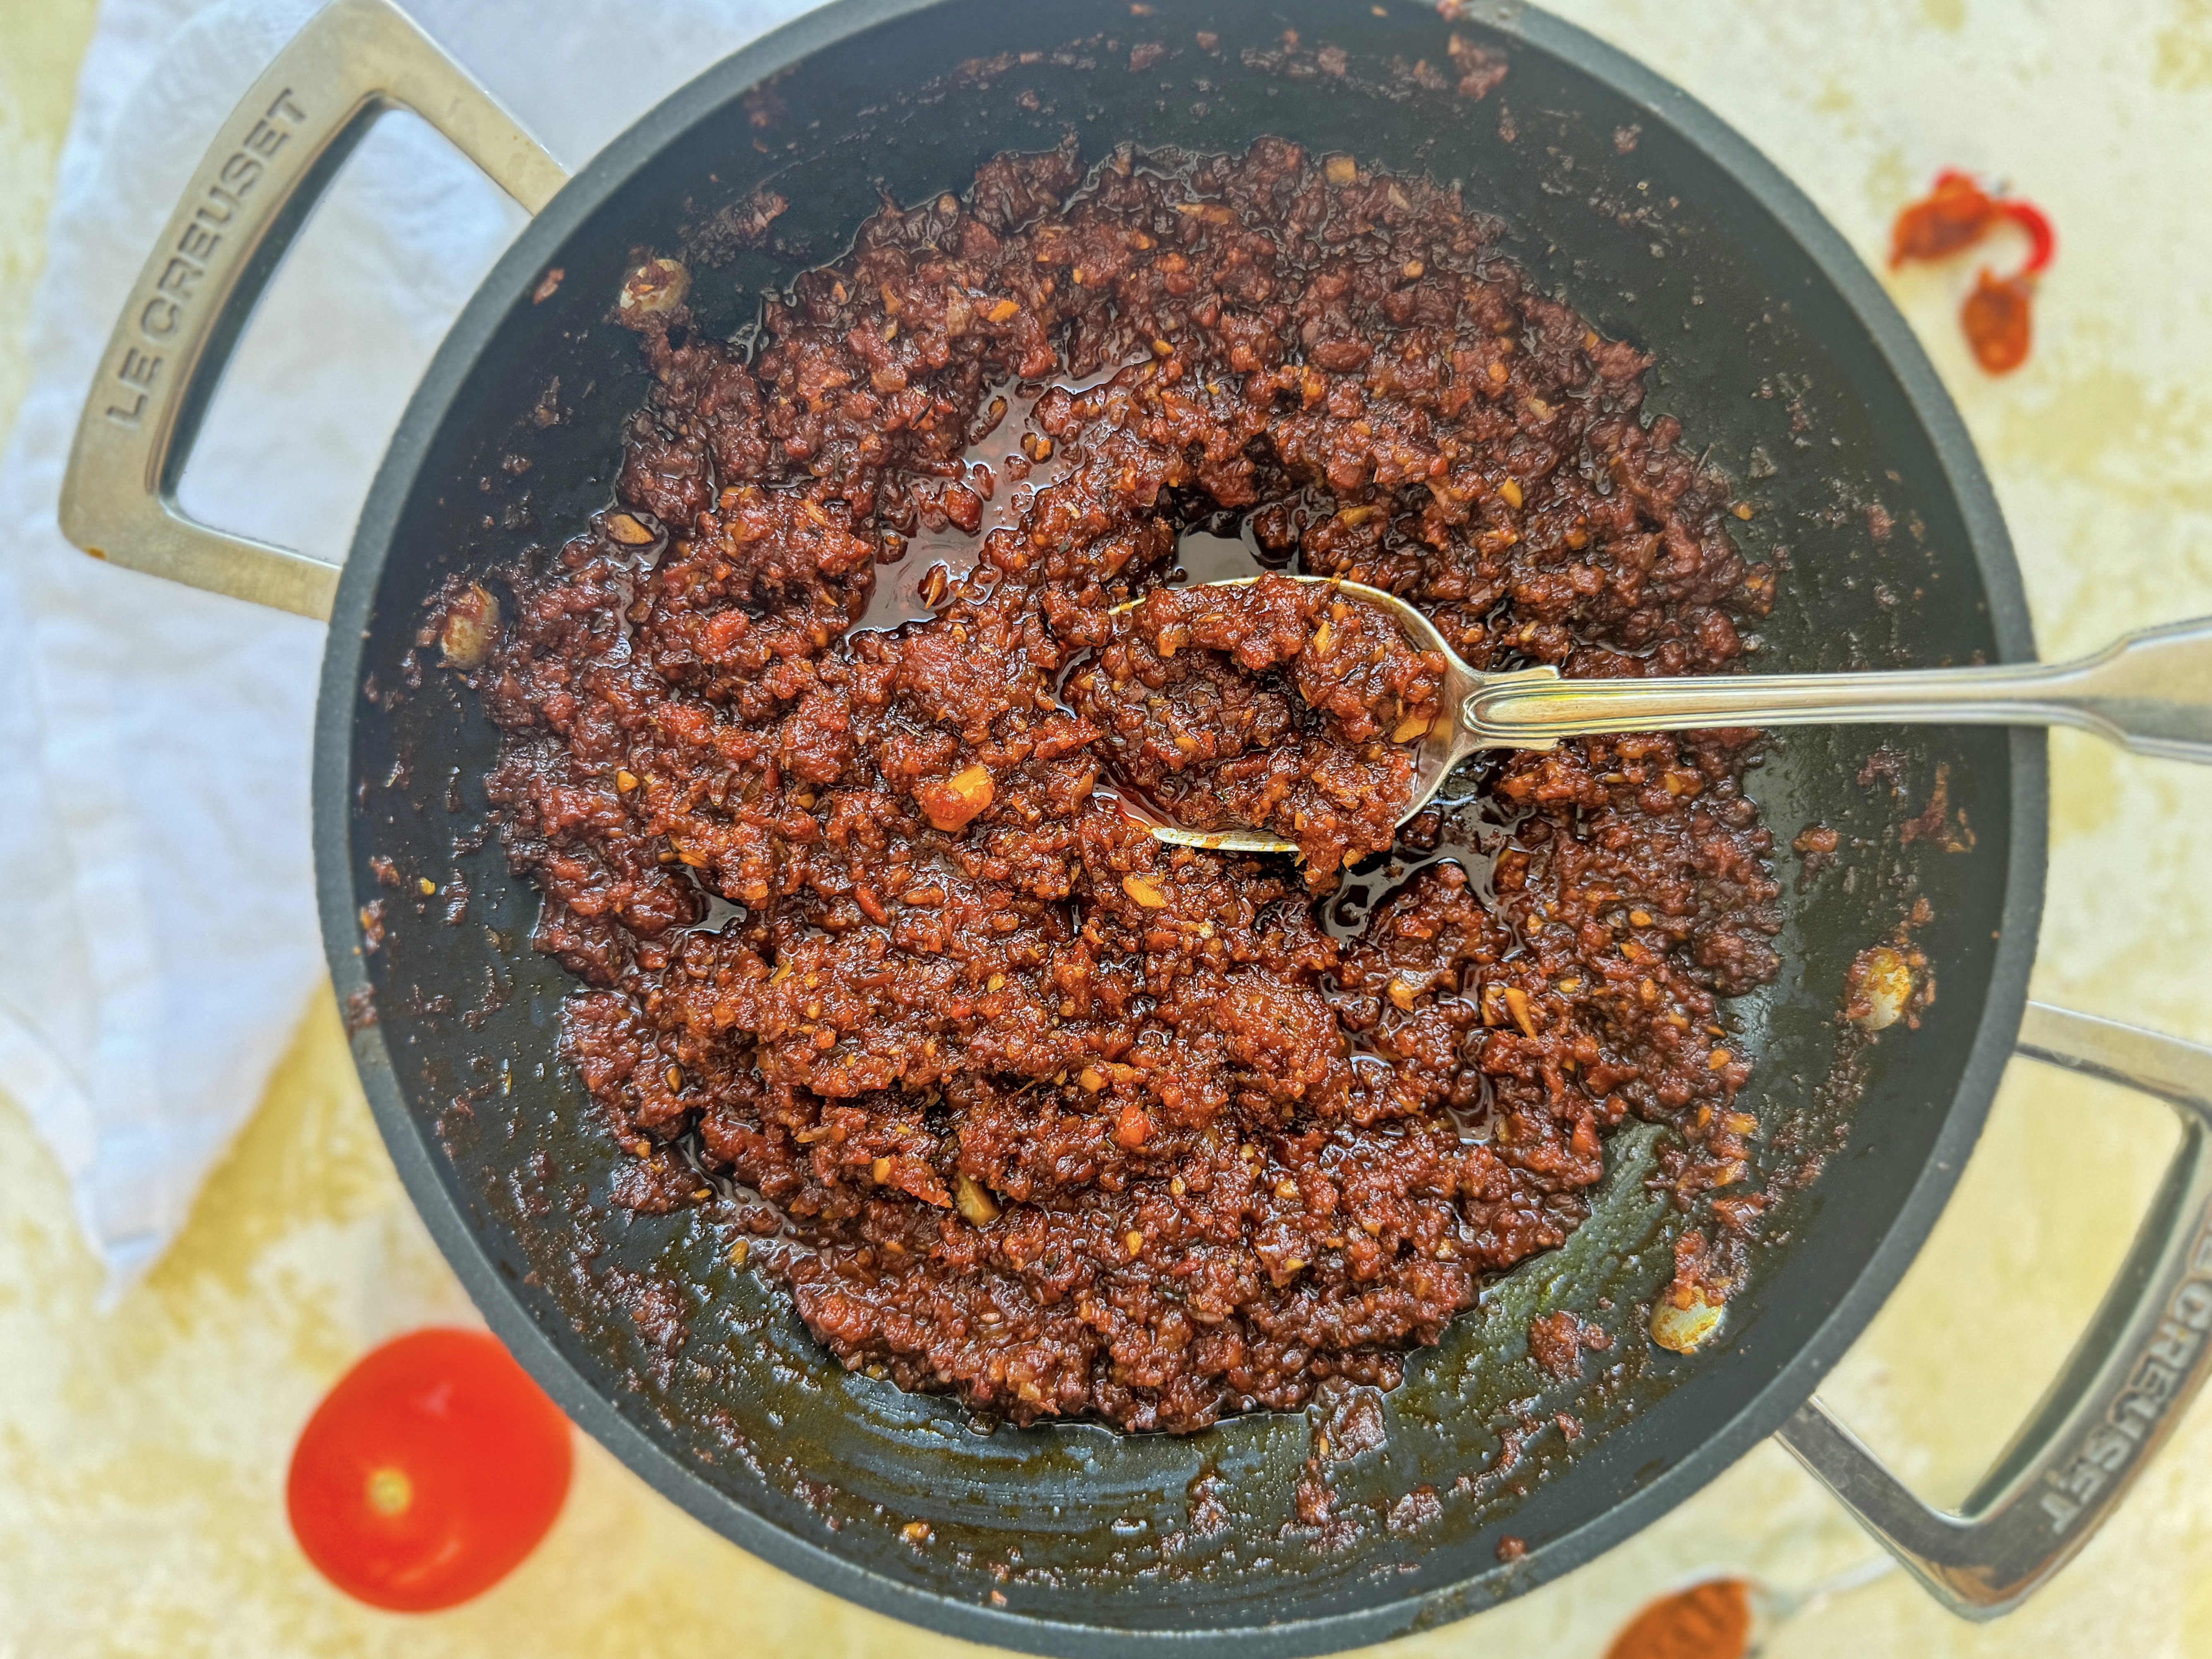
- Put all the prepared ingredients, except the sugar, into a large cast iron pan or heavy saucepan and bring to a gentle simmer. Cook, with the lid on, over a moderate to low heat for 30 minutes. Stir from time to time.
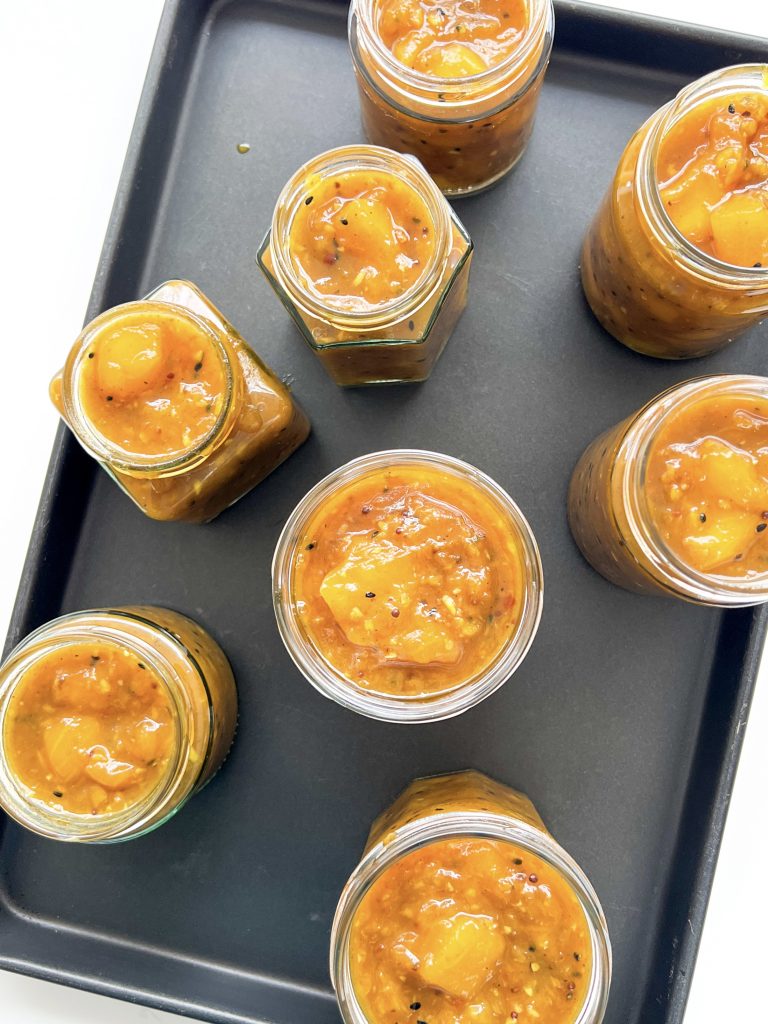
- Prepare the jars: this recipe makes roughly 3 x 400g jars of chutney, however I like to use a range of jars in different sizes. Wash the jars and lids in hot water, place on a baking tray and put in a cold oven. Turn the oven on to 160°C/325°F/Gas 3 (fan 140°C) and leave the jars in the oven for 30 minutes. Turn the oven off and leave the jars inside the oven until you are ready to fill them.
- Back to the chutney: after 30 minutes, add the sugar to the chutney, mix well and continue to cook for a further 30 minutes, on a low heat, stirring more frequently to ensure it doesn’t stick. Cook with the lid on for 15 minutes and then remove it for the final 15 minutes of cooking. However, if you have a lot of liquid, you may wish to remove the lid at the 30 minutes mark. Stir it very frequently for the final 15 minutes, to ensure it doesn’t burn.
- Take the now sterilised jars and lids out of the oven and get together the wax discs, jam funnel and a large jug. Be very careful – both the chutney and the jars will be very, very hot.
- Fill the jars: fill the jug with chutney, place the jam funnel over a jar and pour in the chutney, to the top of the jar. Repeat with the remaining jars. Top each jar with a wax disc (if using) and screw on a lid, tightly. Again, be very careful as everything is very hot. Leave the chutney to cool for around an hour. and then thoroughly clean the outside of the jars, ensuring any sticky from the chutney has been removed. Set on one side to dry and cool completely.
- As soon as the chutney has cooled, label the jars, remembering to put a date on the label.
- Store the chutney in a cool, dark place for up to 6 months. Once opened, store in the fridge and use within a month.
Ingredients 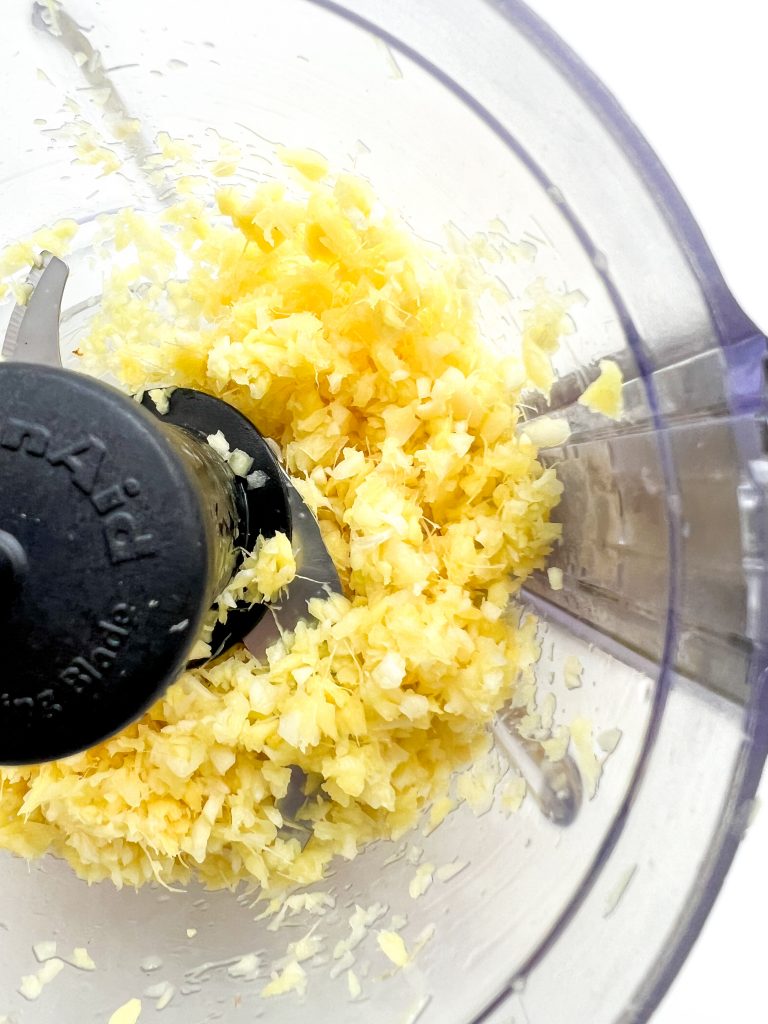
1 Ginger and garlic 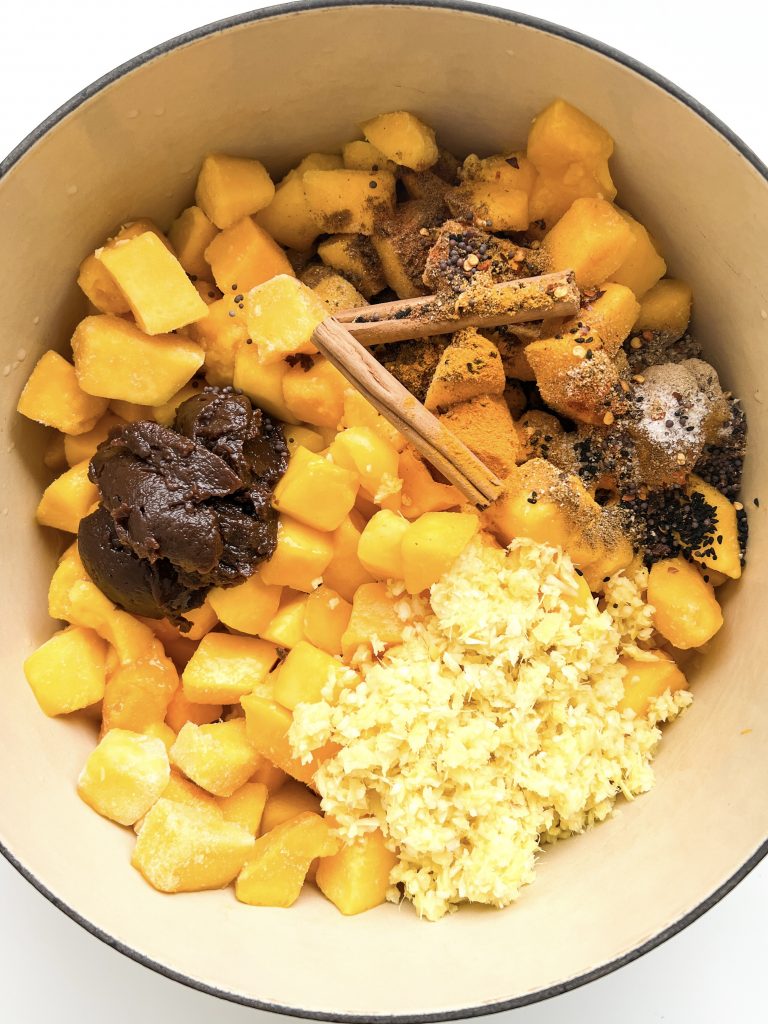
2 Remaining ingredients 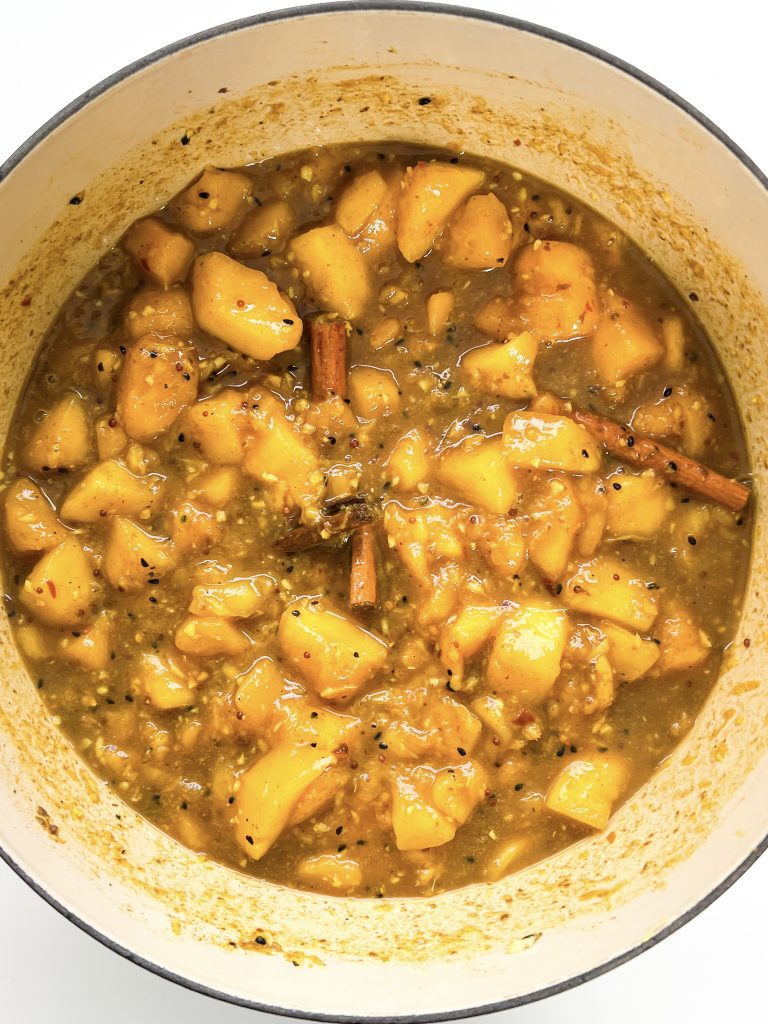
Cook 30 mins 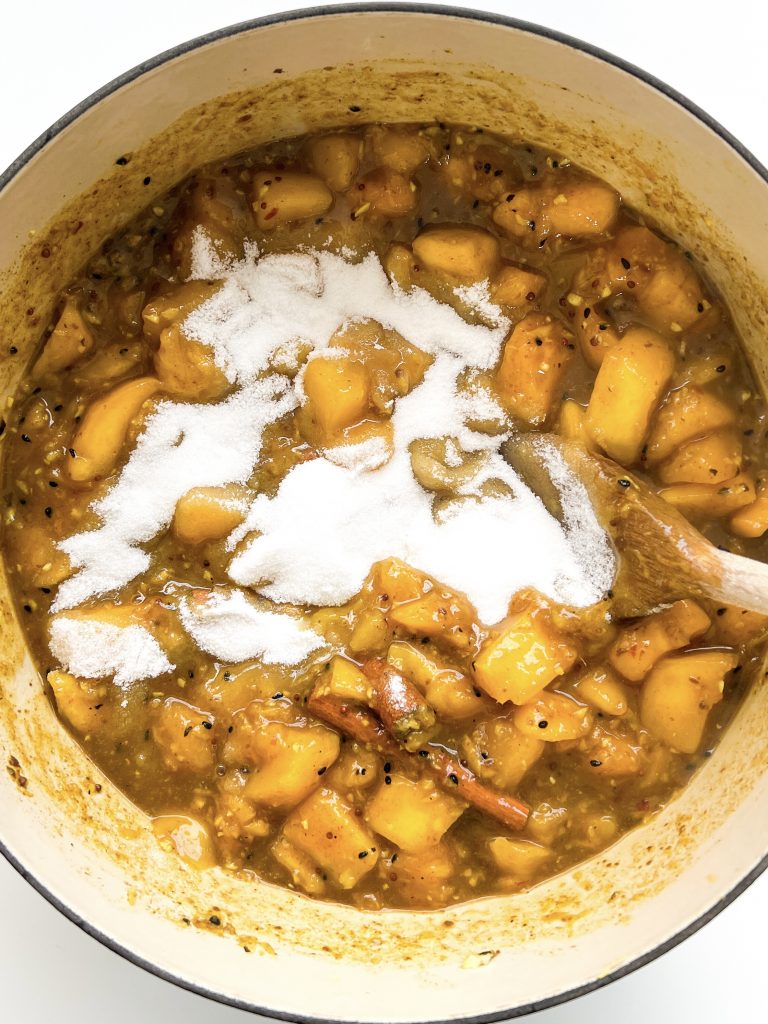
4 Add sugar 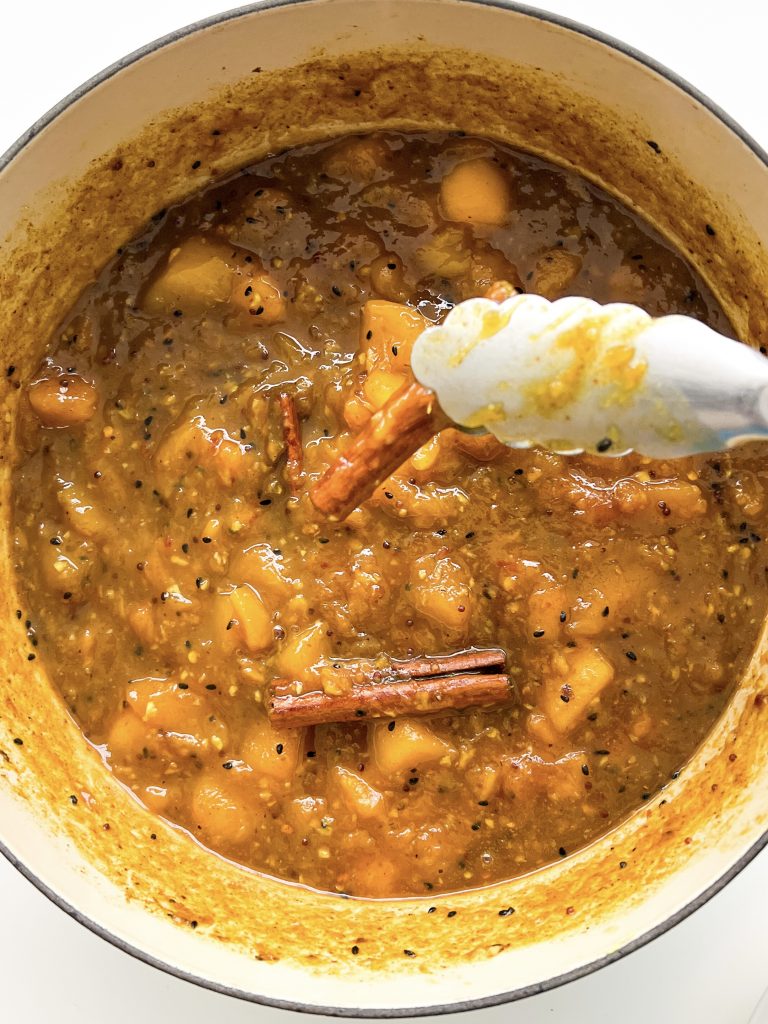
Cook 30 mins 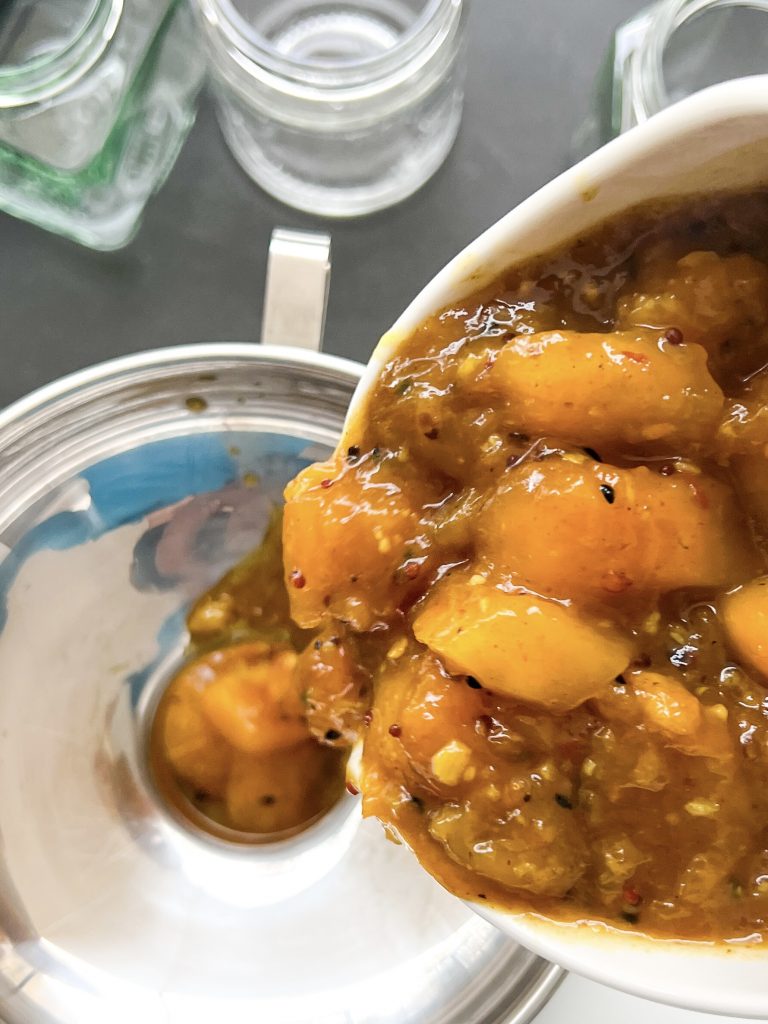
6 Fill jars 

Wax discs
Made this recipe?
If you make this recipe, do please tag me on instagram @daffodil_kitchen. You could also leave a comment in the box directly below the recipe.

Mango Chutney
Fruity, sweet, savoury and spicy with a hit of ginger, and a tart kick from the tamarind and cider vinegar, this chutney is delicious, exceptionally easy to make and very versatile. To list just a few examples, it makes a fabulous accompaniment to grilled meats or fish, include it on a cheeseboard, serve with Indian food, in sandwiches, cheesy toasties or a side with a salad. The options are endless.
Makes 3 x 400g jars
Ingredients
- 800g fresh, ripe mango, skin and stone removed, flesh chopped – or use frozen
- 4 cloves of garlic (12-16g), peeled and finely chopped or crushed
- 30g peeled ginger, finely chopped or grated
- 150ml cider vinegar
- 40g/2 tablespoons tamarind paste
- 2 sticks of cinnamon
- ¼ teaspoon black mustard seeds
- ¼ teaspoon black onion seeds
- ¼ teaspoon garam masala
- ⅛ teaspoon chilli flakes
- ⅛ teaspoon cardamom powder
- ⅛ teaspoon coriander powder
- ⅛ teaspoon chilli powder
- ⅛ teaspoon cumin powder
- ¼ teaspoon fine salt
- ¼ teaspoon freshly ground black pepper
- 150g caster sugar
Instructions
-
Collect together your equipment (see Recipe Notes below) and ingredients.
-
Start making the chutney: blitz the garlic and ginger in a food processor until very finely chopped. Alternatively, crush the garlic and grate the ginger.
-
Put all the prepared ingredients, except the sugar, into a large cast iron pan or heavy saucepan and bring to a gentle simmer. Cook, with the lid on, over a moderate to low heat for 30 minutes. Stir from time to time.
-
Prepare the jars: this recipe makes roughly 3 x 400g jars of chutney, however I like to use a range of jars in different sizes. Wash the jars and lids in hot water, place on a baking tray and put in a cold oven. Turn the oven on to 160°C/325°F/Gas 3 (fan 140°C) and leave the jars in the oven for 30 minutes. Turn the oven off and leave the jars inside the oven until you are ready to fill them.
-
Back to the chutney: after 30 minutes, add the sugar to the chutney, mix well and continue to cook for a further 30 minutes, on a low heat, stirring more frequently to ensure it doesn’t stick. Cook with the lid on for 15 minutes and then remove it for the final 15 minutes of cooking. However, if you have a lot of liquid, you may wish to remove the lid at the 30 minutes mark. Stir it very frequently for the final 15 minutes, to ensure it doesn’t burn.
-
Take the now sterilised jars and lids out of the oven and get together the wax discs, jam funnel and a large jug. Be very careful – both the chutney and the jars will be very, very hot.
-
Fill the jars: fill the jug with chutney, place the jam funnel over a jar and pour in the chutney, to the top of the jar. Repeat with the remaining jars. Top each jar with a wax disc (if using) and screw on a lid, tightly. Again, be very careful as everything is very hot. Leave the chutney to cool for around an hour. and then thoroughly clean the outside of the jars, ensuring any sticky from the chutney has been removed. Set on one side to dry and cool completely.
-
As soon as the chutney has cooled, label the jars, remembering to put a date on the label.
-
Store the chutney in a cool, dark place for up to 6 months. Once opened, store in the fridge and use within a month.
Recipe Notes
Equipment:
- kitchen scales and measuring spoons
- chopping board and knife
- large cast iron pan or heavy saucepan
- a range of glass jam jars and lids – 3 – 8 jars depending on size
- jam funnel
- large jug
- wax discs
Sterilising jam jars:
It is important that you store the chutney in glass jars which have been sterilised. Details of how to do this are included in the recipe. It is also important to remember that the jars must be very hot when filling them with the very hot chutney. If you have sterilised the jars prior to making the chutney, be sure to re-heat them. If you do not, they are likely to shatter or crack when adding anything very hot. Equally, you must never put glass jars into a pre-heated oven or they could shatter or crack. Put them into a cold oven and then switch it on to heat up. This way they will heat up gradually.
Notes on ingredients:
Although there is a long list of ingredients, most of them are spices, which, if you cook Indian food, you will probably have in the cupboard already. Plus, this recipe works as well with frozen mango as it does with fresh mango. Frozen mango is often cheaper than fresh in the UK and has the added advantage that it is frozen when ripe and sweet, so no need to wait for them to ripen in your fruit bowl


You May Also Like
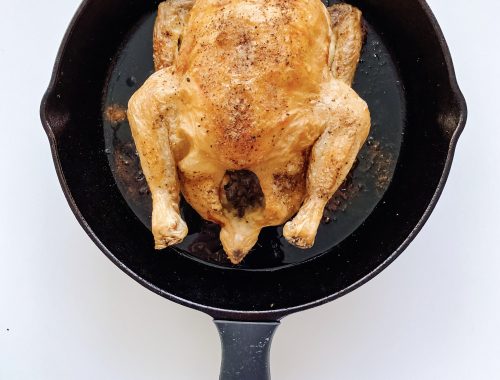
Skillet Roast Chicken – Core Recipe
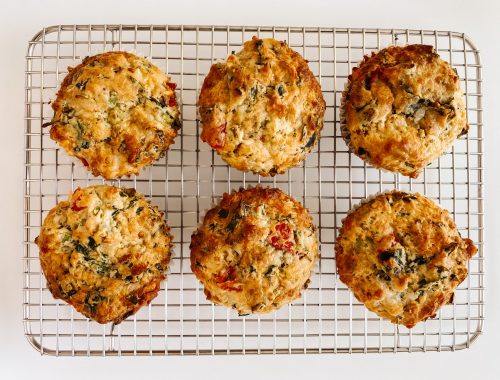
Savoury Muffins/Loaf – Core Recipe