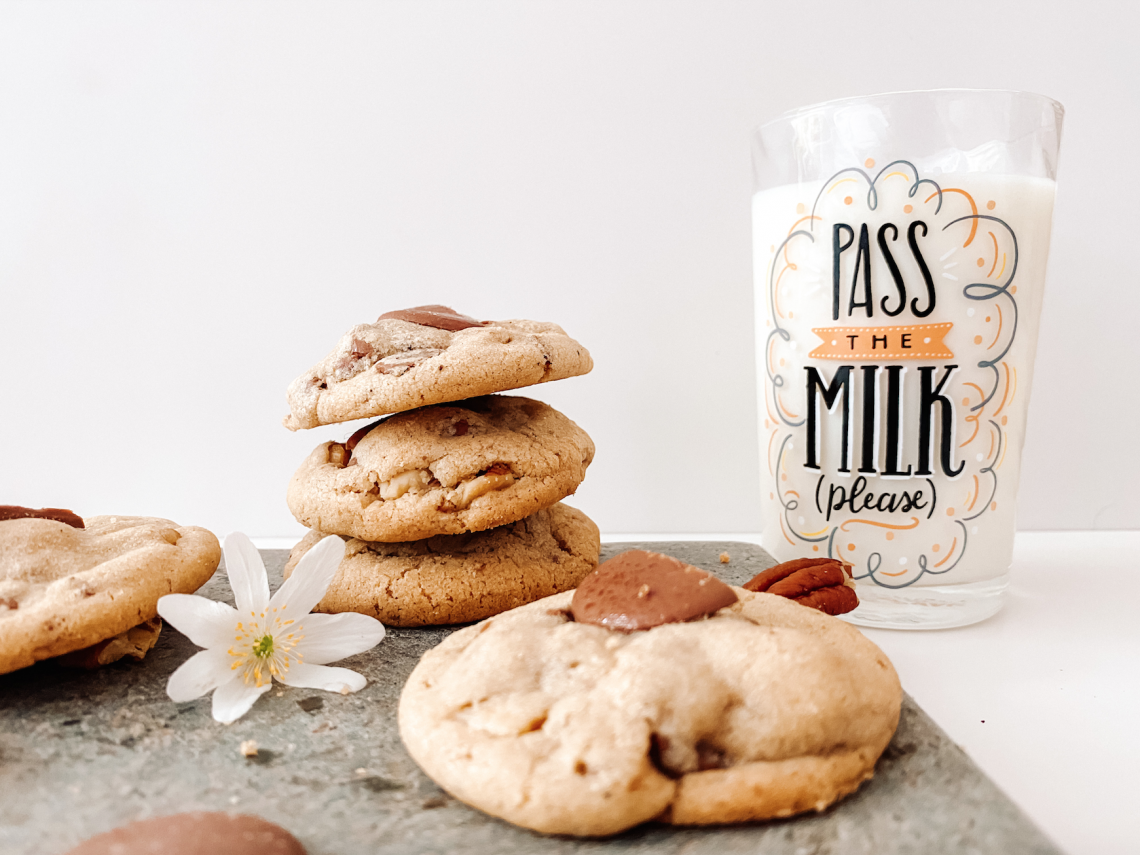
Brown Butter Chocolate Chip Walnut Cookies with Spelt
Layers of nutty flavours from spelt flour, brown butter and chopped walnuts, add a depth of deliciousness to these nutty, chocolatey, crispy on the outside, chewy on the inside cookies. They are another creation which came about during our COVID 19 isolation. Normal plain flour was hard to come by so I thought I’d mix in some of the spelt flour I had in the back of the cupboard to help eek out the plain flour. I knew this would add a lovely nutty flavour, so decided to enhance this by using brown butter instead of normal butter and throwing in some walnuts as well. Other nuts such as pecans or hazelnuts, would also work really well. They were a triumph!

The recipe is based on my Chocolate Chip Cookies – Core Recipe. For detailed recipe instructions, please refer back to this core recipe. The changes I made were:
- using brown butter instead of normal unsalted butter
- adding some milk to compensate for using brown butter
- swapping some of the plain/all-purpose flour for spelt flour. (If you do not have spelt flour, you can just use 200g plain flour or swap in some brown or wholemeal flour.)
- using half walnuts and half chocolate rather than just chocolate.
Making Brown Butter
Equally, if you would like details of how to brown butter, please check out my post here.
Softening Brown Sugar
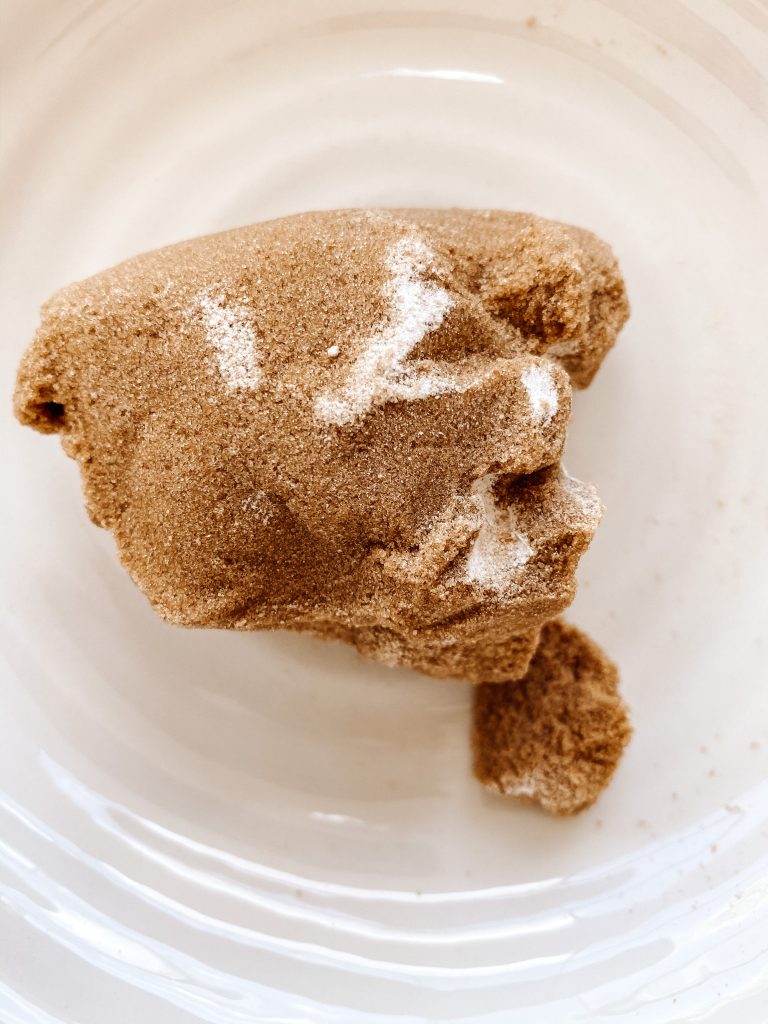
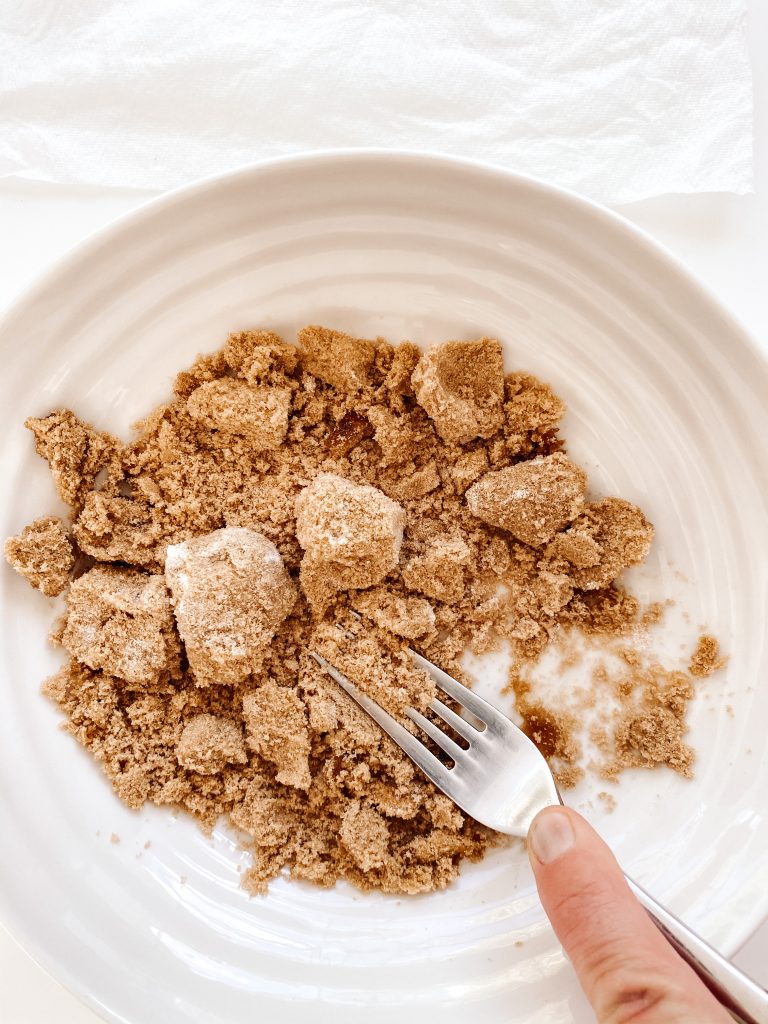
On a slightly different note, when I took the muscovado sugar out of the cupboard, it was rock solid. If this has happened to you and you need to know how to fix it using the microwave rather than a hammer, please see here.
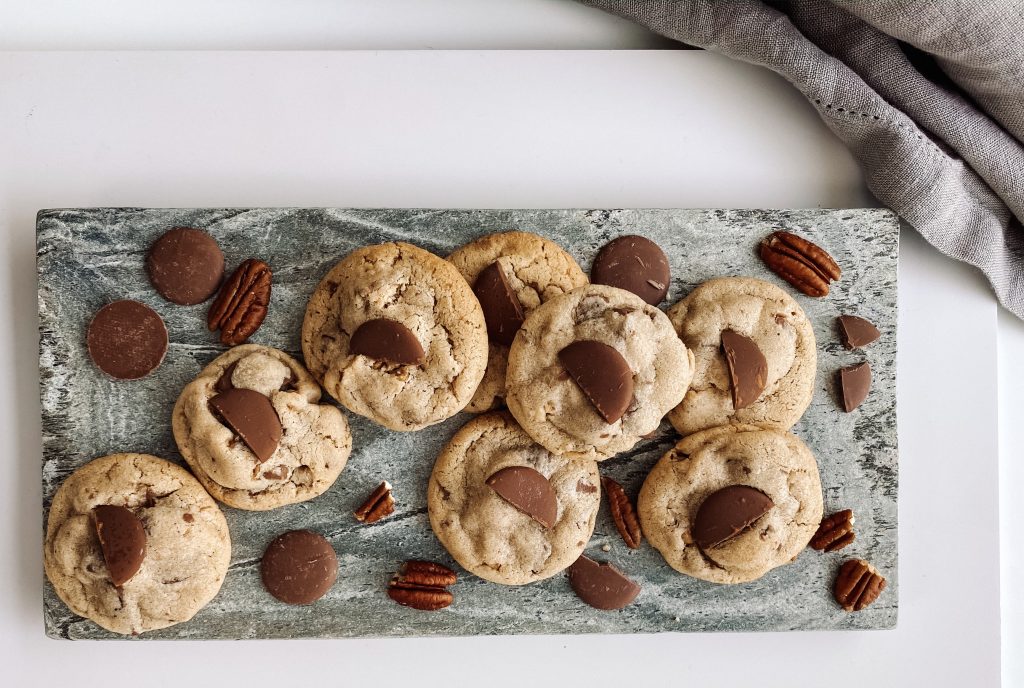
How to make Brown Butter Chocolate Chip Walnut Cookies with Spelt
Back to the actual Cookies! Collect all your ingredients together:
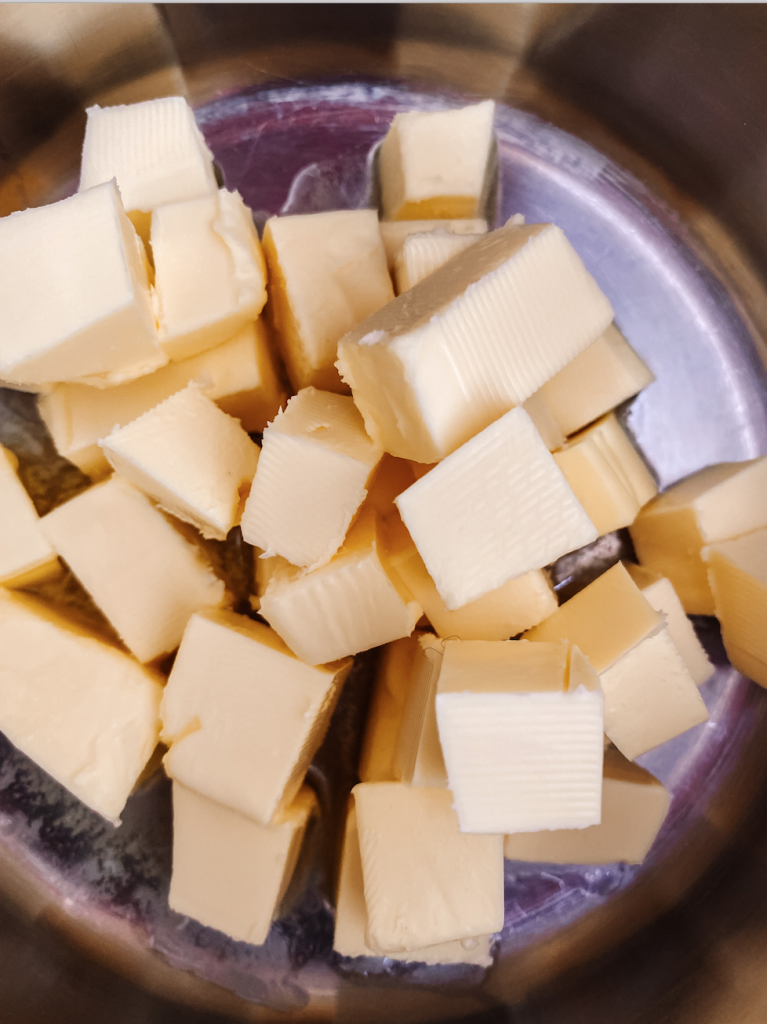
- unsalted butter
- light muscovado sugar
- caster sugar
- salt
- egg
- vanilla extract
- plain/all-purpose flour
- spelt flour
- baking powder
- milk chocolate chunks and chopped walnuts
- choice of toppings e.g. chocolate and/or walnuts
The process is exactly the same as Chocolate Chip Cookies – Core Recipe. You simply:
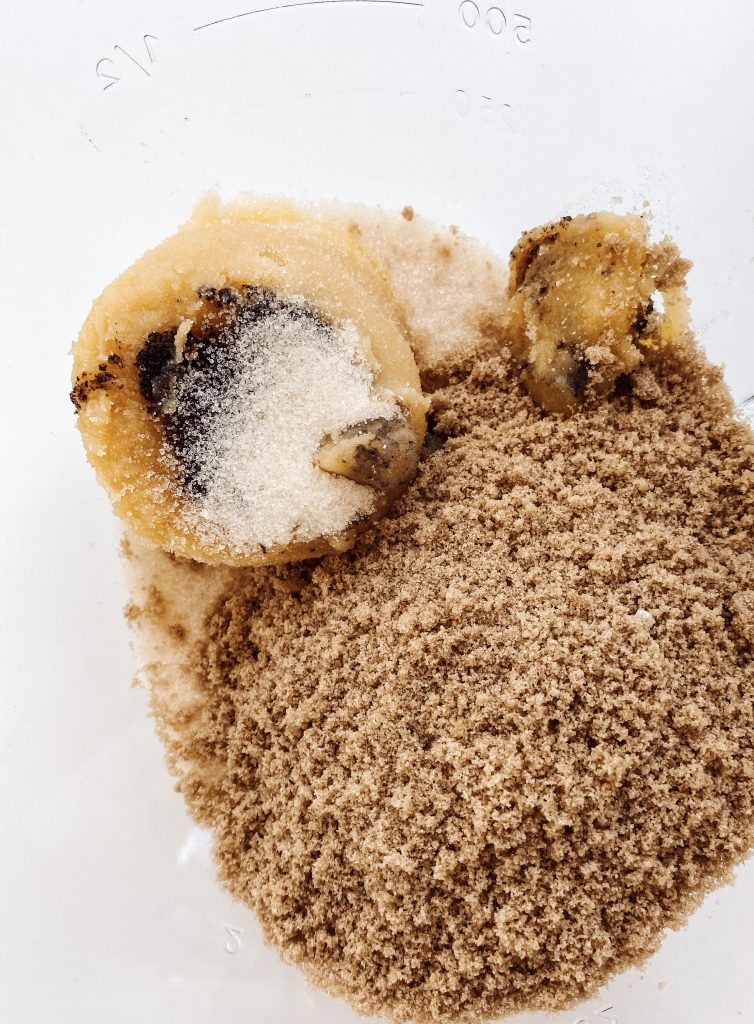
- collect your ingredients together. Put the butter, salt and both of the sugars into a large bowl and using an electric whisk mix until fluffy.
- add the egg, milk and vanilla extract and beat again
- chop your chocolate and walnuts
- mix in the flours, chocolate and nuts
- divide into balls (roughly 22-25 depending on how much cookie dough you eat!)
- add your toppings and refrigerate
- refrigerate, cook and eat!
1 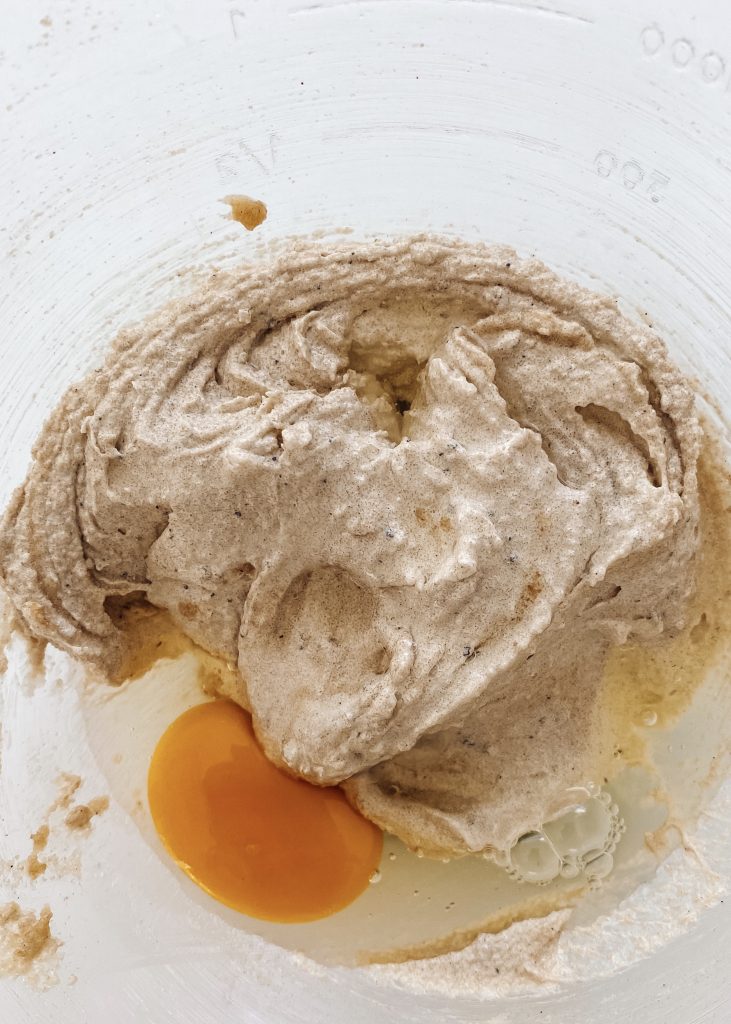
2 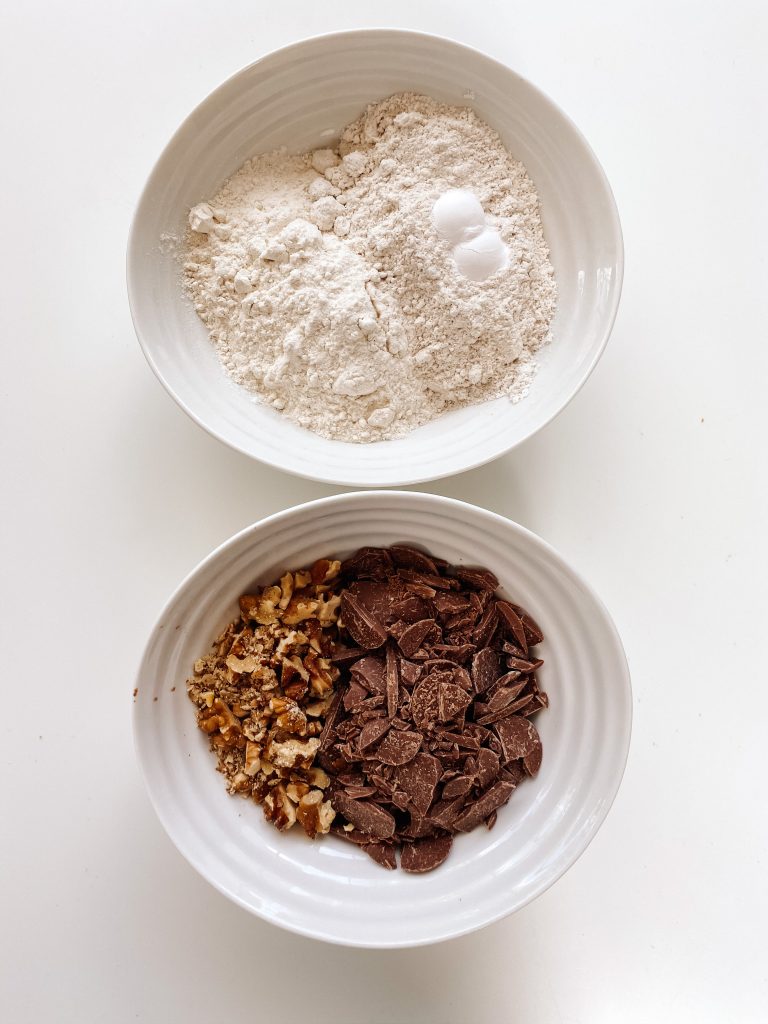
3 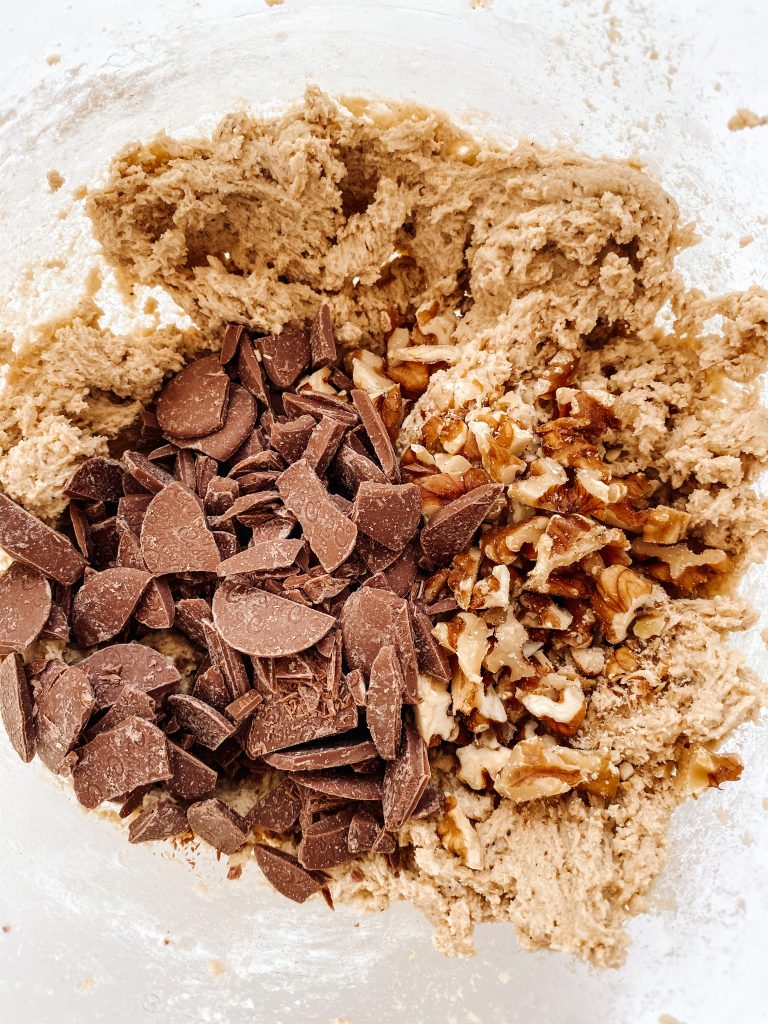
4 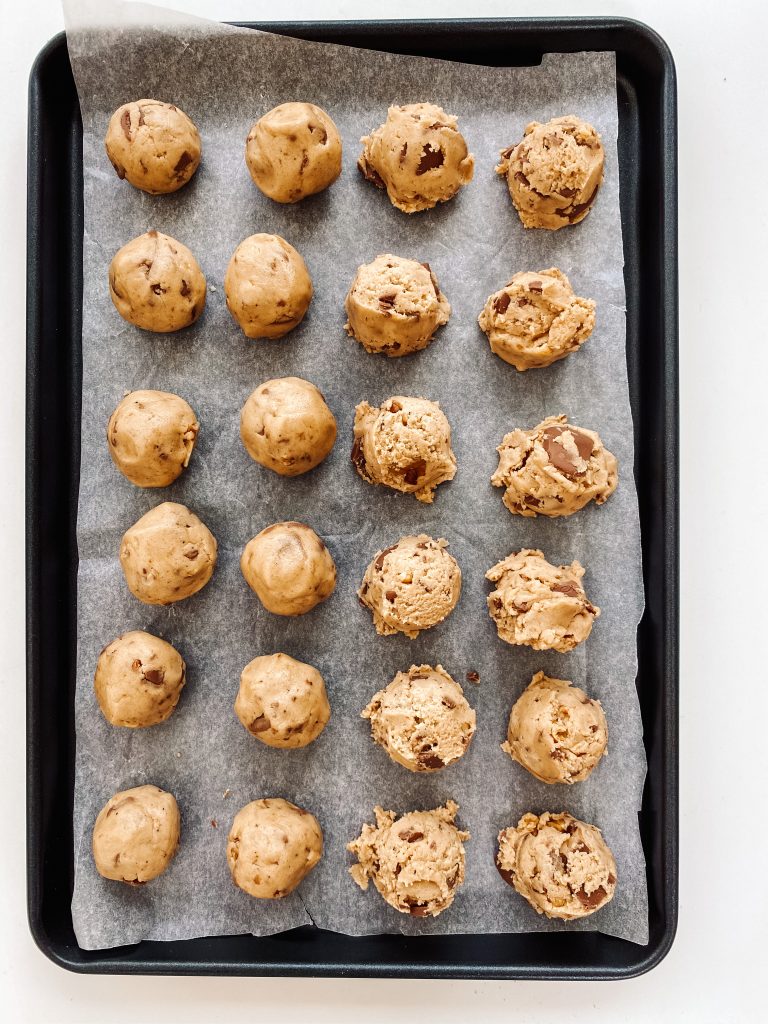
5 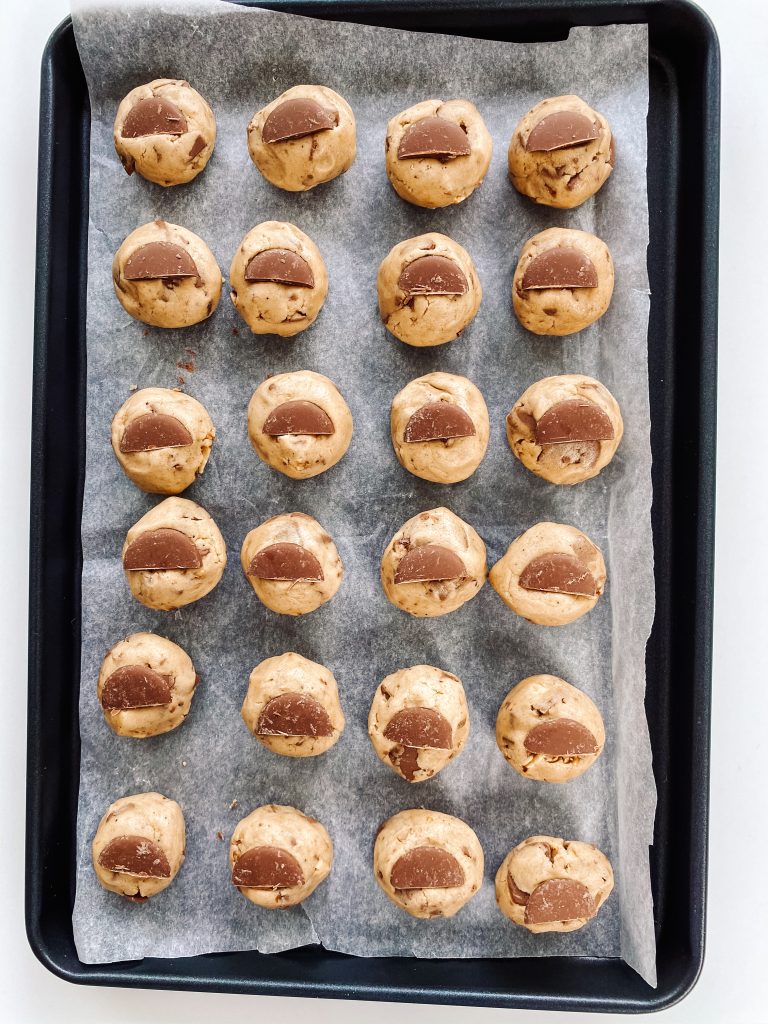
6 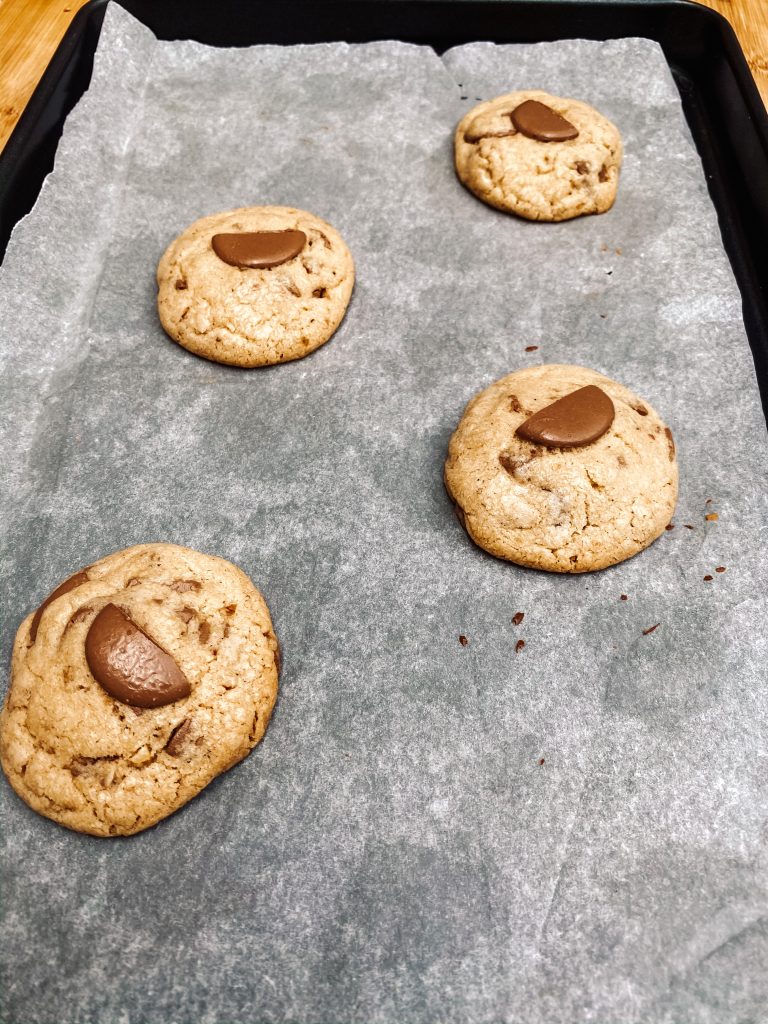
7 
8 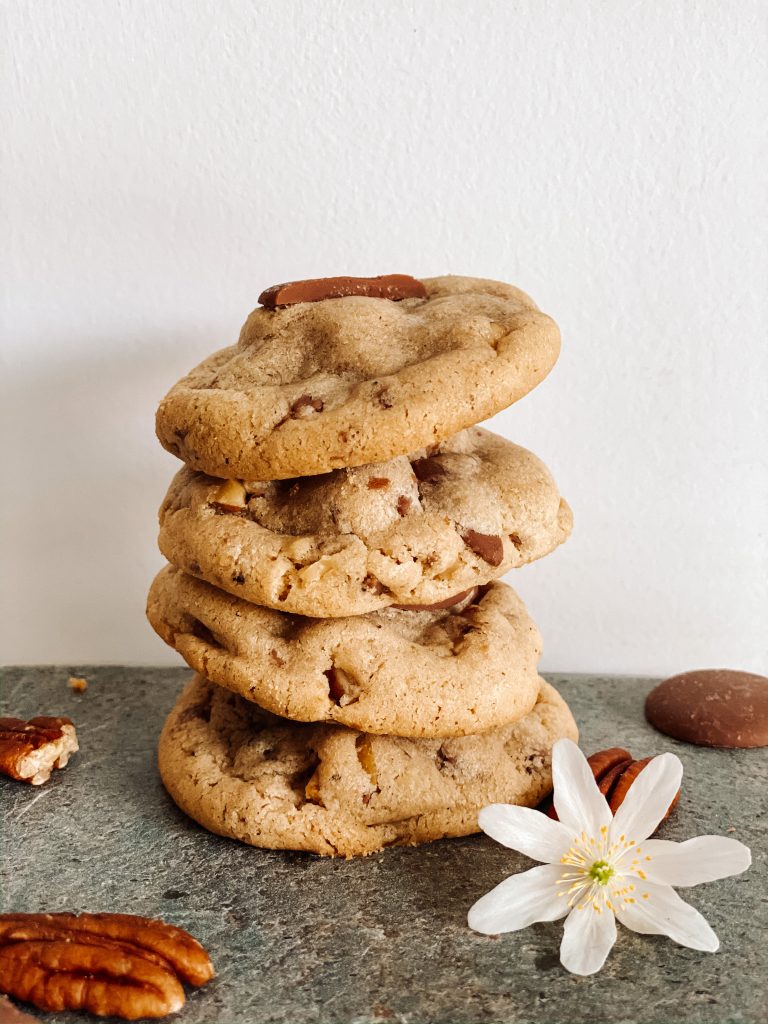
9
Can I bake these cookies directly from the fridge?
Unlike many recipes, these cookies do not have to be chilled prior to baking. They can be cooked as soon as they are made. However, if you want to prepare the dough ahead of time, simply store them covered in the fridge for up to 3 days and then bake them, directly from the fridge, when you are ready.
What is the best way to store these cookies?
When you store cookies, it is important to cover them and store in an airtight container. They keep well for 3 – 4 days at room temperature or 5 – 6 days in the fridge. However, if you are storing them in the fridge, remember to take them out to warm up to room temperature before you serve them.
Can I freeze these cookies?
Yes you can! You can freeze the cookies prior to cooking and after cooking.
Freeze prior to cooking:
One of the wonderful things about this recipe (and most cookies in general to be fair) is that you can make a big batch and freeze them uncooked, but oven ready. To freeze, place them on a baking parchment lined board or baking tray, cover with cling film and place in the freezer until solid. As soon as the dough balls are frozen, they can be transferred into labelled freezer bags or containers. They can be cooked directly from frozen. Freshly baked warm cookies on demand – what is not to like?
Cook directly from the freezer:
Bake directly from frozen, as described in the recipe. Simply allow 1 – 2 extra minutes bake time.
Freeze after cooking:
These cookies can also be frozen after you have cooked them. Freeze in labelled or sealed containers/bags for up to 3 months.
Made this recipe?
If you make this recipe, do please tag me on instagram @daffodilkitchen. You could also leave a comment in the box directly below the recipe.
Brown Butter Chocolate Chip Walnut Cookies with Spelt
Layers of nutty flavours from spelt flour, brown butter and chopped walnuts, add a depth of deliciousness to these nutty, chocolatey, crispy on the outside, chewy on the inside cookies.
Ingredients
- 105g unsalted brown butter, solidified in the fridge
- ½ teaspoon salt
- 100g light muscovado sugar (or light brown sugar)
- 75g caster sugar
- 1 large egg
- 20ml/4 teaspoons milk
- 1 teaspoon vanilla extract
- 150g plain/all-purpose flour
- 50g spelt flour (or replace with plain or brown flour if you do not have spelt flour)
- ½ teaspoon baking powder
- 100g chocolate, chopped (I used large chocolate buttons, chopped)
- 100g chopped walnuts
Topping:
- 13 large chocolate buttons, halved or 12 walnut halves
Instructions
-
Make the brown butter – this must be done at least 2 hours before but can be made up to 3 days before. Heat the butter in a saucepan over a moderate heat. Heat until it turns a medium brown colour. This will take 2 – 4 minutes depending on how hot your hob is and how your saucepan conducts heat. Keep your eye on it because it can change and burn quite quickly. When it is brown, pour into a small bowl and leave to cool. When cool, put in the fridge to solidify.
-
Make your cookies: start making the actual cookies at least 40 – 45 minutes before you want to cook them. You need 10 minutes to allow the brown butter to soften a little after being in the fridge. Plus, the mixture is very soft and, ideally, you need time to chill the dough for a minimum of 30 minutes in the fridge or 15 minutes in the freezer.
-
Put the butter, salt and both of the sugars into a large bowl and using an electric whisk mix until fluffy. This should take 3-4 minutes.
-
Add the egg and vanilla extract/paste and continue to whisk until thoroughly mixed.
-
Add the flour and baking powder to the butter mixture and beat, on a slow speed, until almost entirely incorporated. Alternatively, fold in by hand.
-
Fold in the chocolate chunks and walnut pieces until evenly mixed throughout. The dough will be quite soft and sticky at this stage. (NB hold a few chunks of chocolate and walnut pieces back, just 2-3 of each, to add into the last cookie.)
-
Divide the dough into rough balls, (I use 30g/1 large tablespoon of dough per cookie) and place them, close together on a baking sheet lined with baking parchment. Roll gently into a neater shape and then stick on the toppings. Cover with cling film and put in the fridge for a minimum of 30 minutes (or the freezer for a minimum of 15 minutes) to harden a little.
NB You should get around 25 dough balls – this will depend on how accurate you are measuring them out and how much of the cookie dough you eat as you prepare them!
-
Five minutes before you want to cook your cookies, preheat oven to Fan Oven 160°C /180°C/350°F/Gas 4 and line several sheets with baking parchment.
-
Place the cookie dough balls spread out on baking sheets. Depending on the size of your baking sheet, I cook between 4 – 6 at a time.
-
Baking one tray at a time: bake for 10 – 12 minutes.( I cook mine for 1 minute.)
Baking two trays at a time: add one minute to the total time to cook. Bake for half this time and then quickly swap the trays over i.e. put the top tray on the lower shelf and the tray from the lower shelf and on the higher shelf and cook for the remaining time.
(So for one tray I cook for 11 minutes and 2 trays for 6 minutes, swap the trays and then another 6 minutes = 12 minutes on total.)
-
The cookies are cooked when: they have spread out, are starting to brown on the edges and look ever so slightly underdone. They should still be soft in the middle. Let them cool on the baking sheet for 10 minutes and then transfer to a cooling rack.
Recipe Notes
Equipment:
- Kitchen scales and measuring spoons
- Saucepan and bowl for the brown butter
- Electric whisk and mixing bowl
- Chopping board and knife
- Baking sheets lined with baking parchment
Replacing the brown butter with unsalted butter: if you would like to replace the brown butter with unsalted butter, you should use 125g unsalted butter and not add 20ml milk. For more information on Brown Butter, please see my post.
Cooking from frozen: allow 1 – 2 minutes extra cooking time.
Weighing the ingredients:
You can either weigh your ingredients and then add them to the mixing bowl or you can weigh your ingredients directly into your mixing bowl. Simply put the bowl on the scales and zero the scales. Make sure you remember to zero them in between adding each new ingredient
More from my site
 Toasted Coconut and Brown Butter Cookies with Milk Chocolate Chips
 Brown Butter Chocolate Chip Cookie Bars
 Brown Butter Fruit and Nut Chocolate Chip Cookies with Oats and Coconut, finished with Smoked Salt
 Ginger and Dark Chocolate Brown Butter Cookies
 Milk Chocolate Chip Cookies
 Cheesecake Swirl Chocolate Brownies with Toasted Walnuts

Brown Butter

Softening Brown Sugar
You May Also Like
Chocolate and Almond Cake with Orange
7th October 2022
Spinach and Ricotta Cannelloni
8th June 2024