Black Cherry and Almond Brownies – Gluten-free
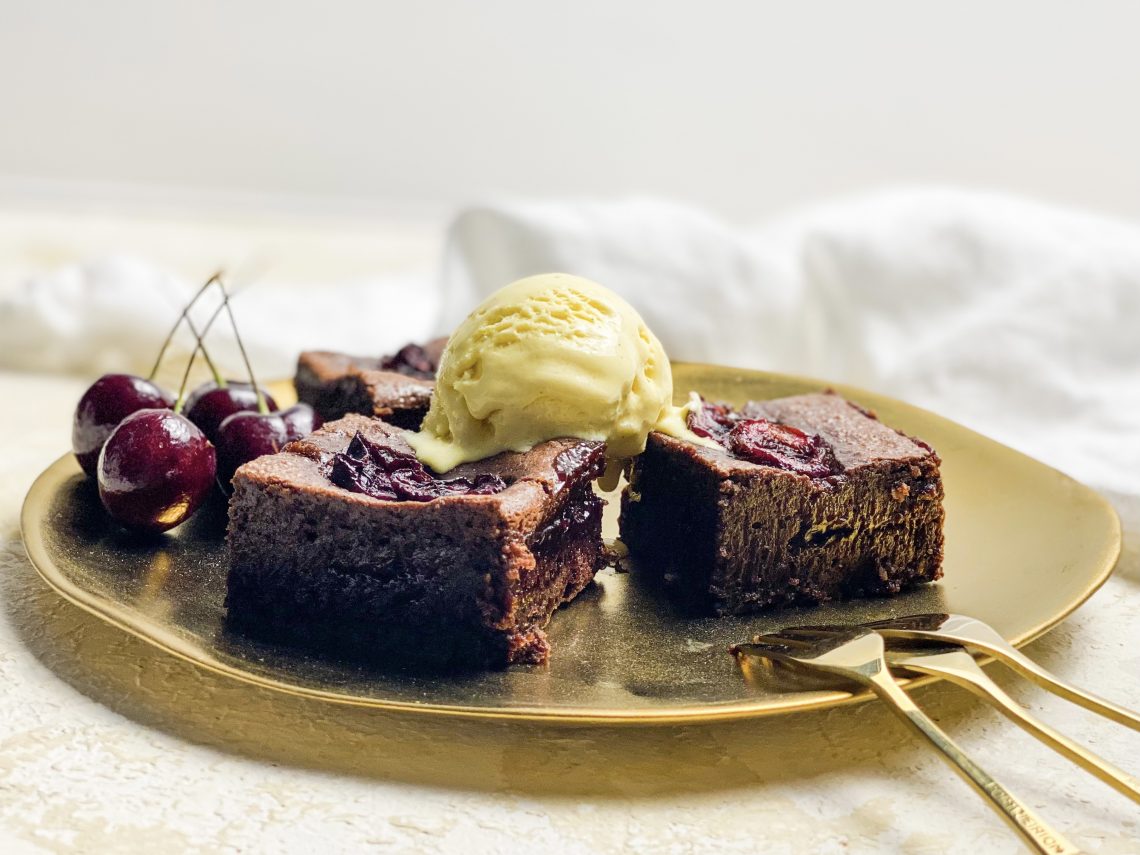
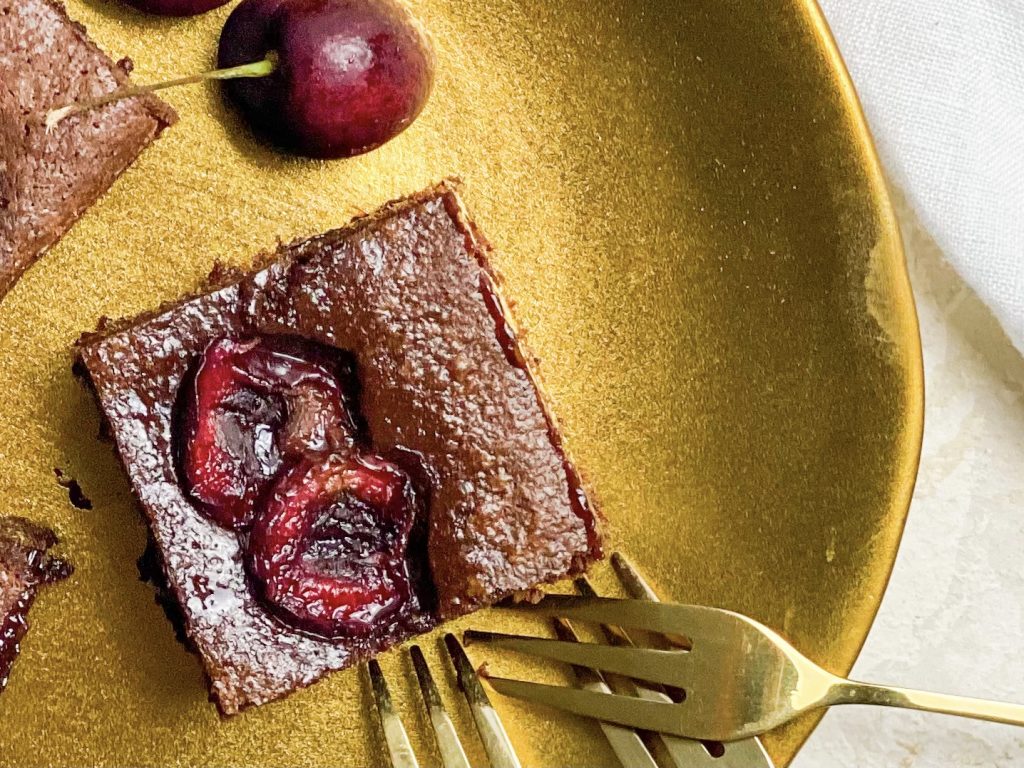
Silky smooth, soft and gooey luscious chocolatey brownies loaded with black cherries and ground almonds. Dark chocolate, black cherries and almonds – a match made in heaven. Or was it the Black Forest?! Either way, and to top it all, they are also gluten-free. I wonder, does that make them a health food?
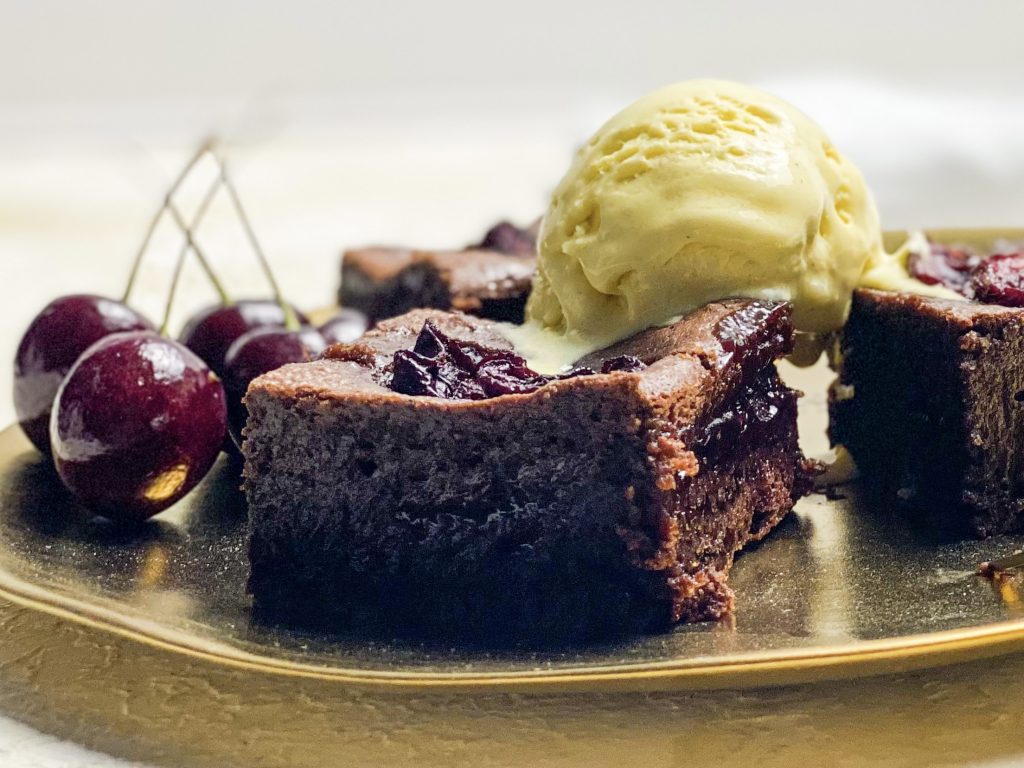
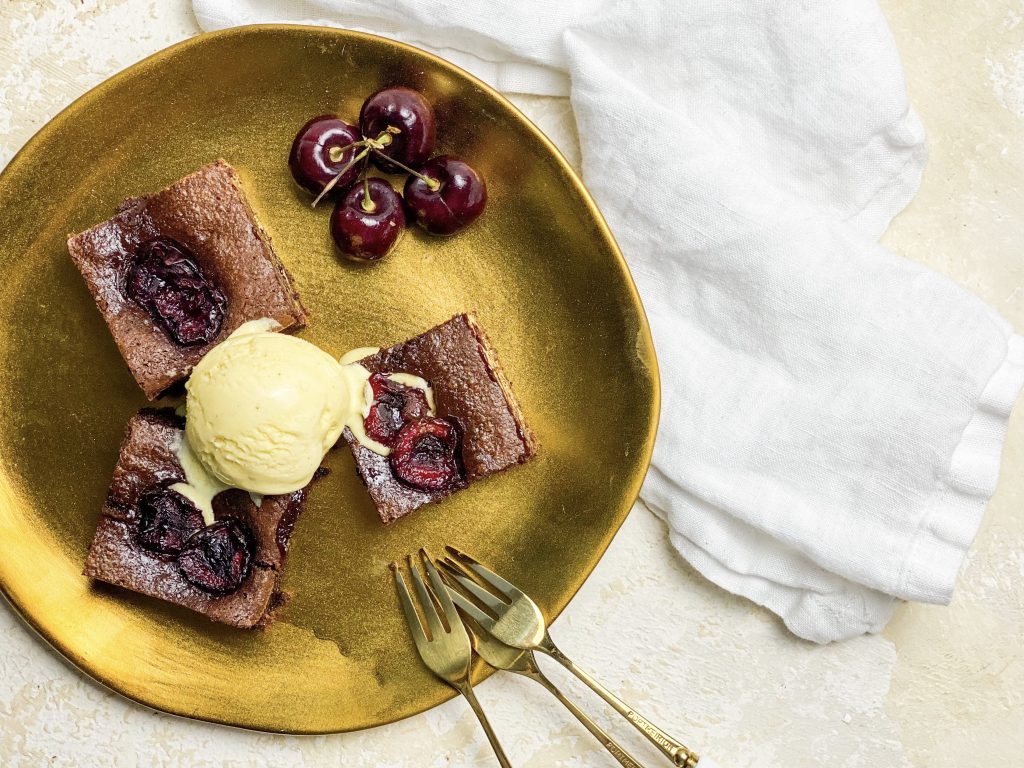
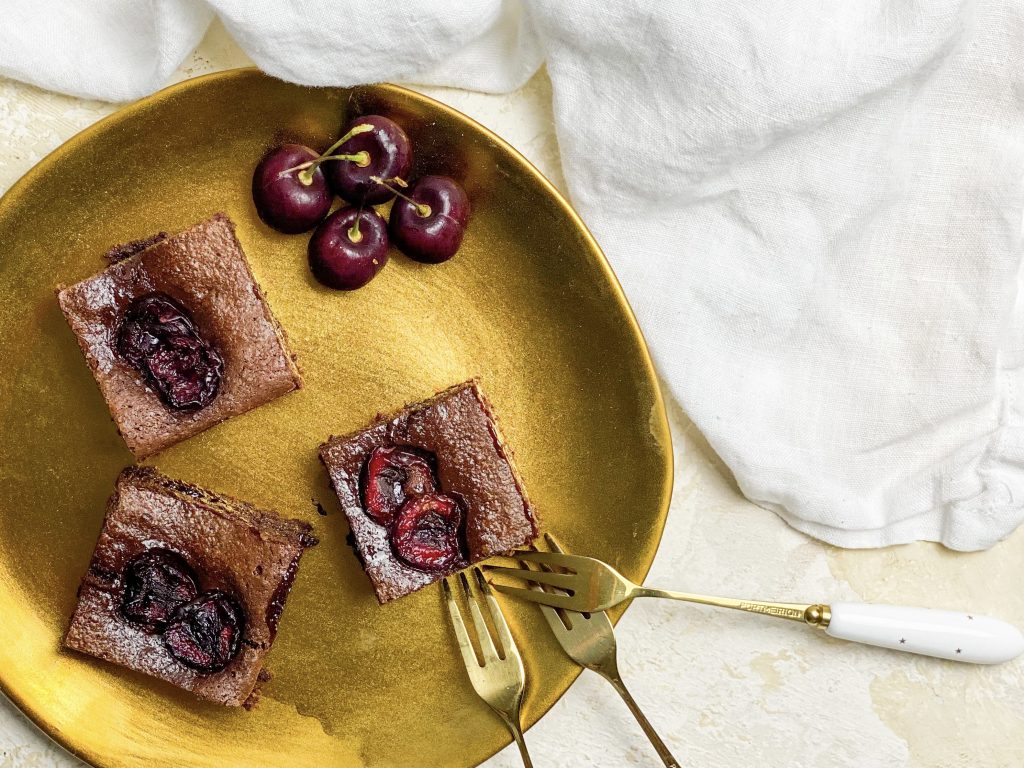
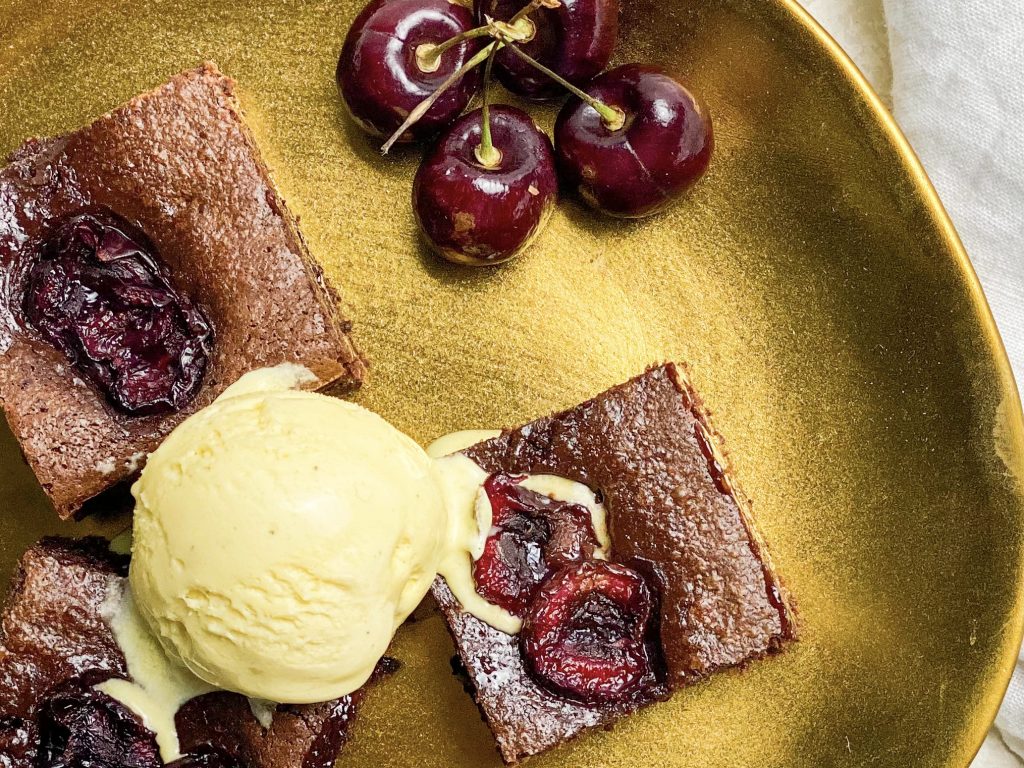
Topped with luscious fresh black cherries and filled with black cherry jam, these brownies are bursting with flavour. Replacing the flour for ground almonds ensures they are gluten-free and loading the centre with jam, creates brownies which are as soft as cotton wool. So much so, I prefer them as a dessert, served warm with ice cream. If you are looking for a slightly sturdier, more cake-like brownie, simply replace the ground almonds with flour.
Every time I post/write up another brownie recipe, I make a little pact with myself not to post any more for quite a while. However, although it is only 20 days since I posted my last brownie recipe, (Chocolate Mint Aero Brownies – they are also amazing, take a look here.) I make absolutely no apology – these are so delicious, I just had to get them out there whilst you still have a chance of finding some very end of season fresh cherries
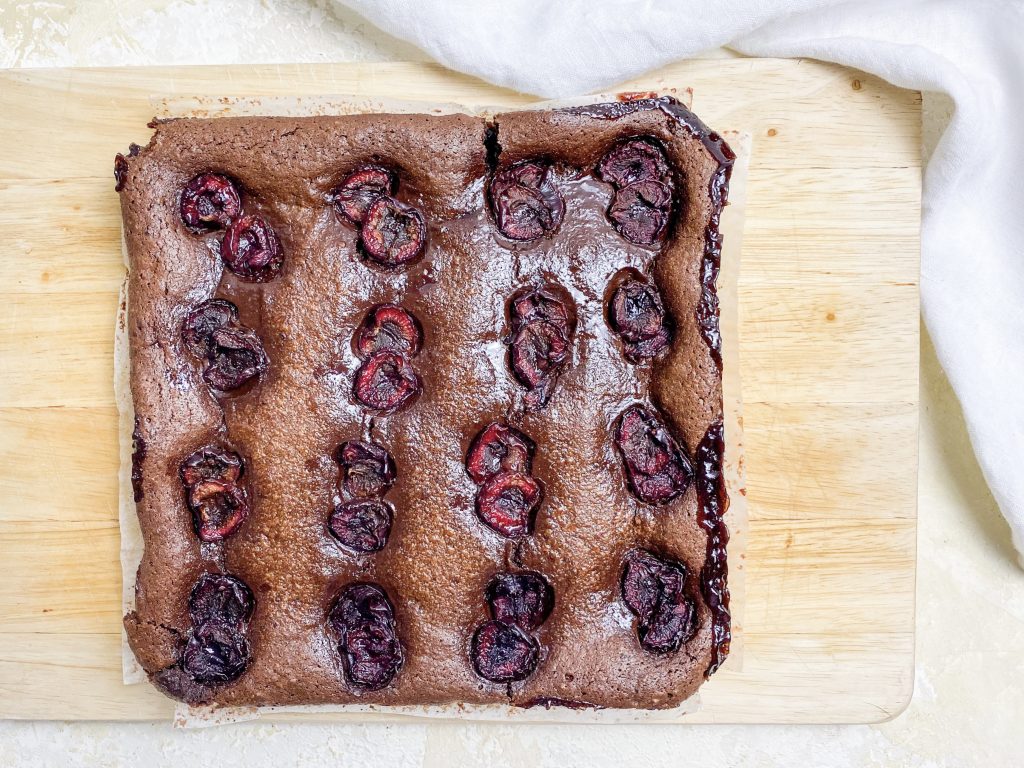
How to make Black Cherry and Almond Brownies – Gluten-free
Collect all your ingredients together and line the baking tin:
In order to guarantee soft and fudgy brownies, it is important to use the correct size tin – in this case it is a 20cm/8inch square tin. If your tin is larger the depth of your cake batter will be less and the cake will cook more quickly. Equally if the tin is smaller, your cake batter will be deeper and cook more slowly.
- Sit the tin on greaseproof paper making sure the paper is large enough to line the tin, come up the sides and have a little overhang.
- Cut out the corners of the paper so it will fit easily into the tin
- Fold the paper from corner to corner so the size of the centre of the paper matches the base of the tin. Slot inside the tin.
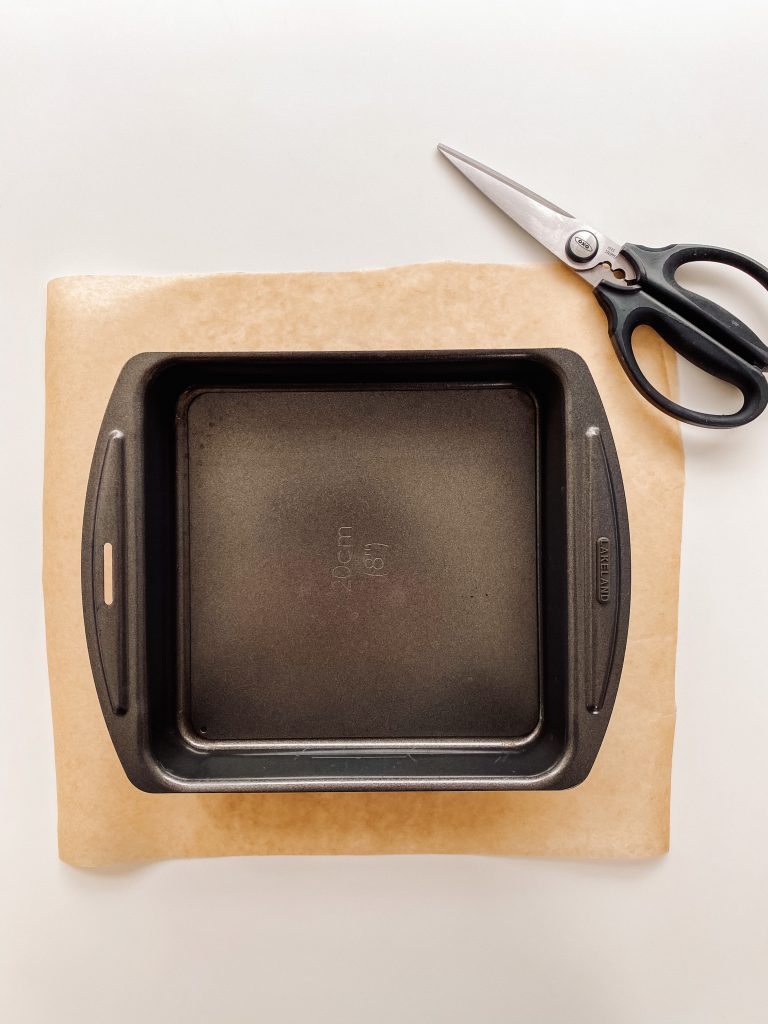
1 Tin and greaseproof paper 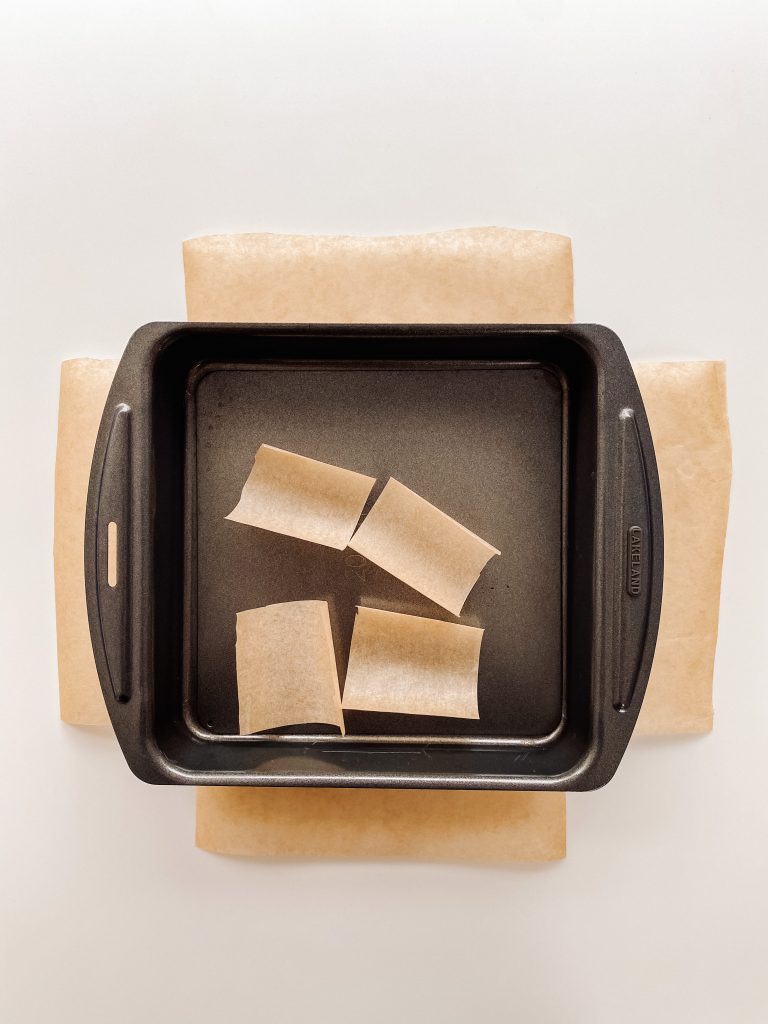
2 Cut out the corners 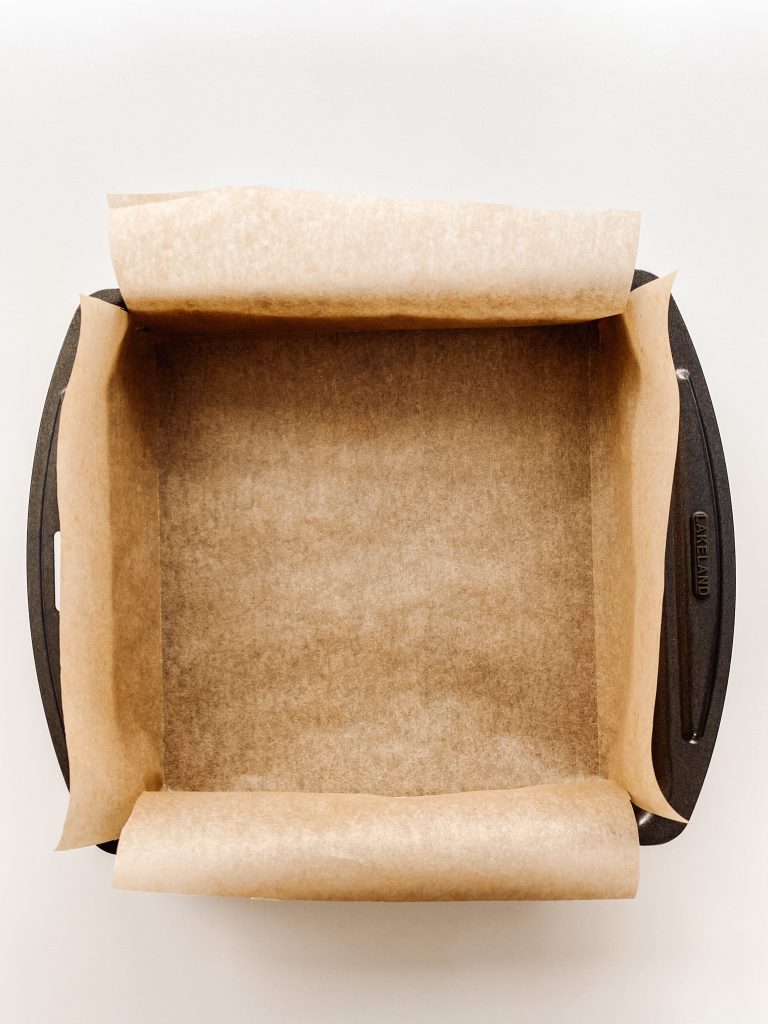
3 Fold, corner to corner, and slot inside the tin
Black Cherry and Almond Brownie Ingredients:
- unsalted butter, in cubes
- dark chocolate, 70% cocoa solids, broken into pieces
- soft brown sugar
- caster sugar
- large eggs
- fine salt
- ground almonds (or plain flour)
- cocoa, sieved
- instant coffee powder, sieved
- black cherry jam
- fresh black cherries
Make those brownies:
- Chop the butter into squares and place in a microwave safe bowl with the chopped chocolate. Melt in a microwave or a bain marie or and mix until smooth. (See Recipe Notes for details.)
- Meanwhile put the sugars, eggs and salt in a mixing bowl and whisk with an electric whisk until thick and creamy. This will take around 3 minutes.
- Pour the chocolate and butter into the eggs and sugar, whilst whisking, and mix thoroughly with the electric whisk until smooth and glossy.
- Add the ground almonds, put a sieve over the bowl and add the cocoa and coffee.
- Sift directly over the cake batter.
- Fold until completely mixed in but be careful not to over-mix at this stage.
- Transfer half of the mixture to your baking tin and level the surface, making sure the cake batter goes all the way into the corners.
- Give the jam a good stir to completely loosen it. Dollop around 1 tablespoon roughly in the centre of each brownie.
- Take a knife and gently swirl the jam so that it spreads a little through the brownie but the there is still more jam in the centre of each brownie than at the edges.
- Next carefully top with the remaining brownie mix, making sure the cake batter goes all the way into the corners.
- Now halve and de-pip the 16 fresh cherries. Place two halves in the centre of each brownie.
- Cook in the centre of the oven for 20 – 25 minutes, depending on how squidgy you like the centre to be. It will carry on cooking when you take it out of the oven so bear this in mind. (I cook mine for 24 minutes in London and 25 minutes in Switzerland.) This gives me a slightly crispy top but a very gorgeous gooey centre. The cake will be slightly risen and cracked around the edges (see the pictures below) but the centre will feel quite soft. Remember the cake will continue to cook after you have taken it out of the oven.
- Leave to cool in the tin for 20 – 30 minutes and then transfer, in the baking parchment to a cooling rack.
- When the brownies are cold, lay on a chopping board and cut into 16; they are rich and this size is big enough for me. If you want more, you can have another one!
- If I have time and/or if I want my brownies to look really smart, I put my brownies in the fridge to harden before I cut them. You will get much better lines and edges.
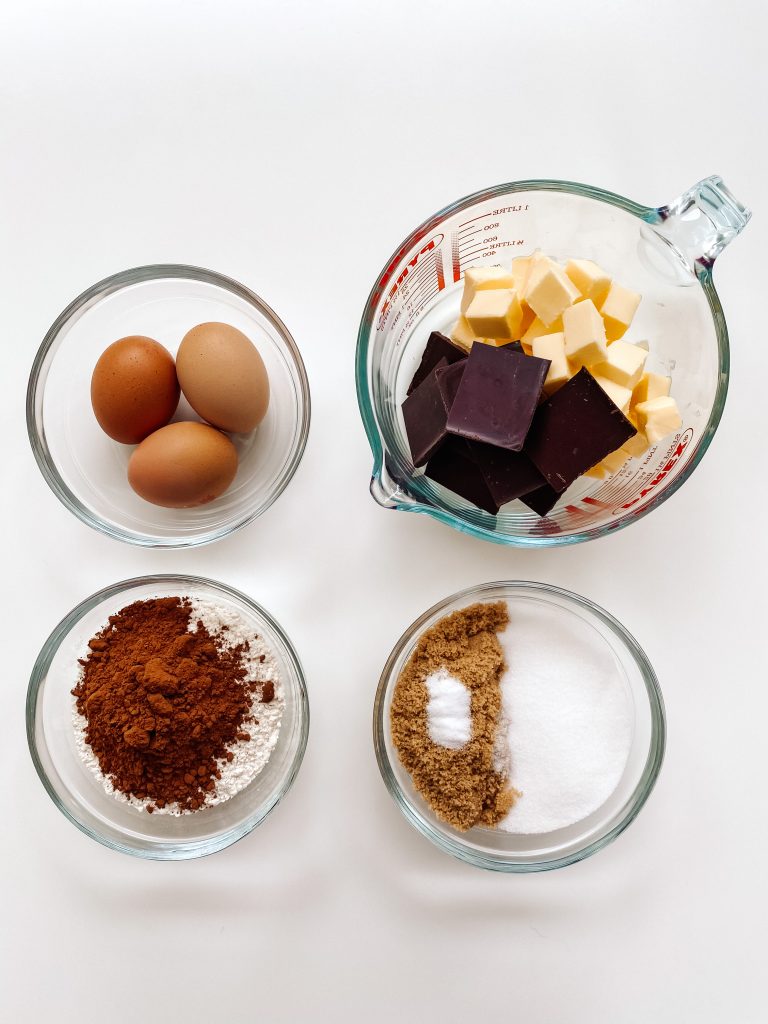
Core ingredients 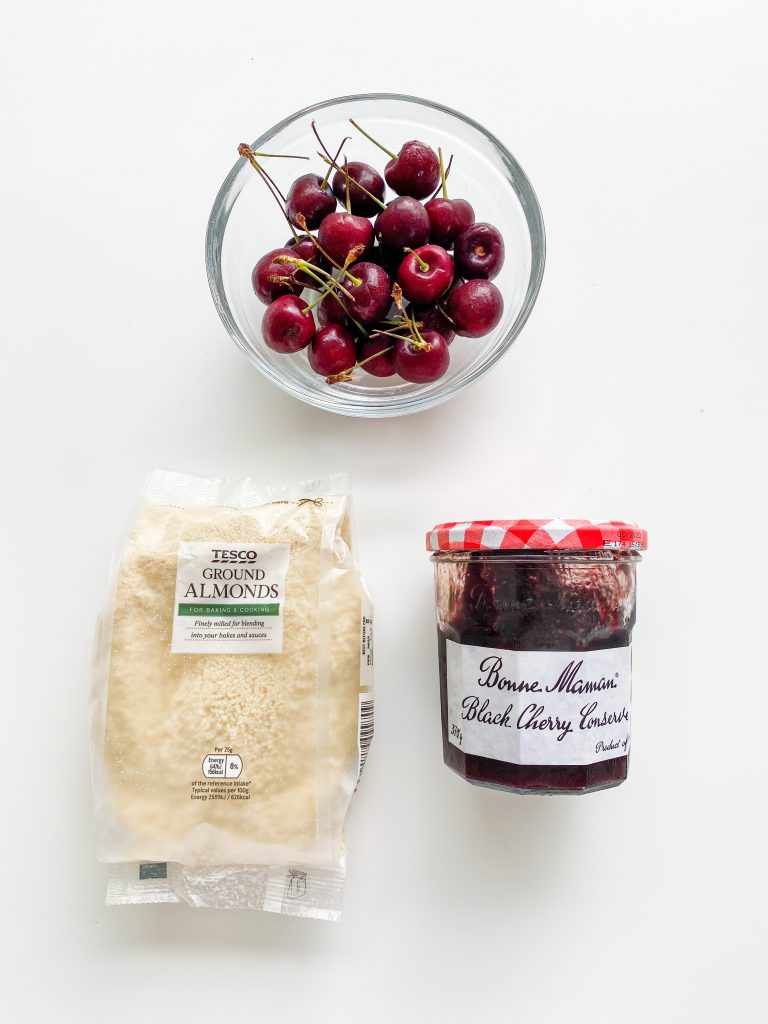
Additional ingredients 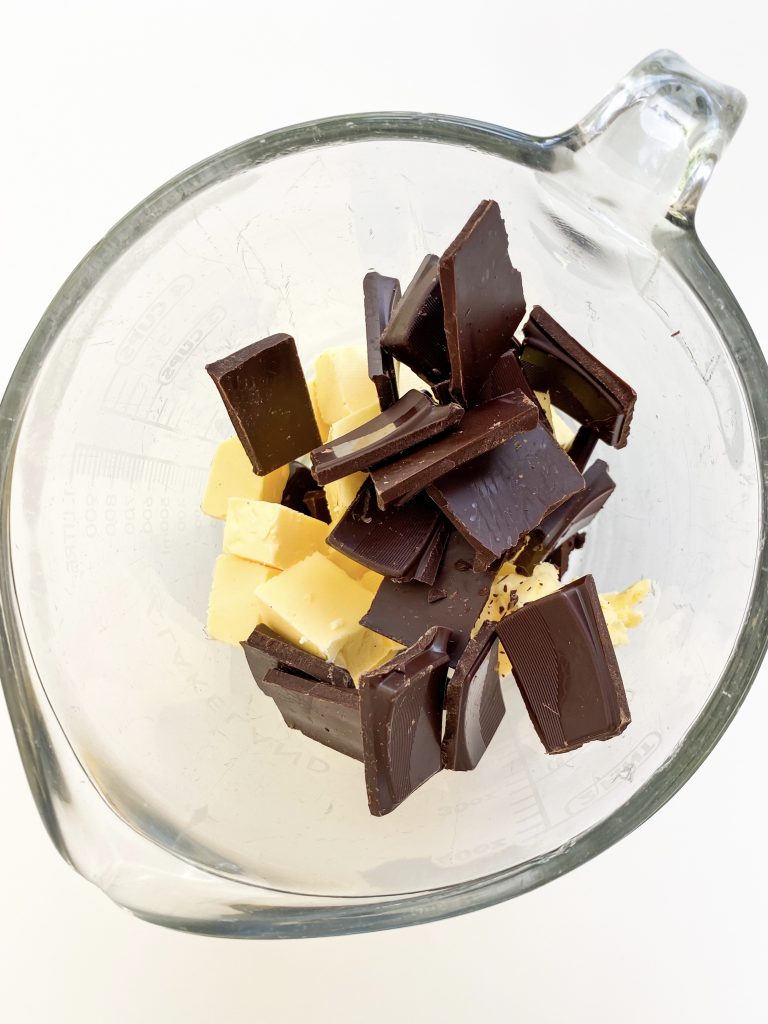
1 Chop chocolate and butter and … 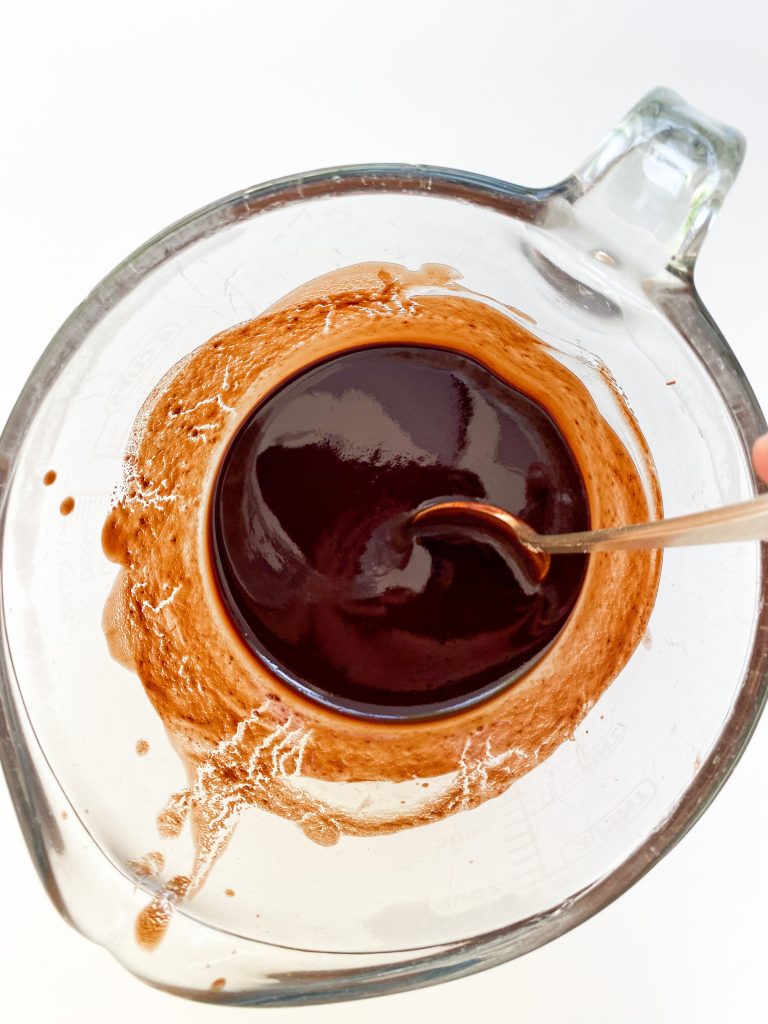
… melt. Stir to mix. 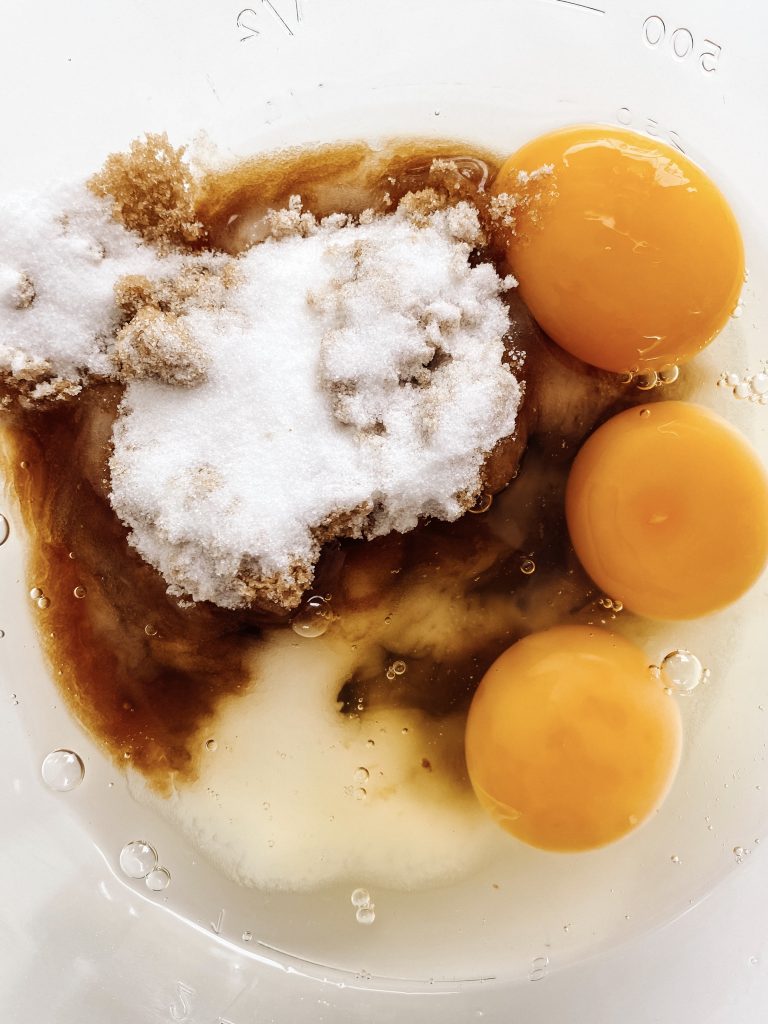
2 Sugars, eggs and salt in mixing bowl …. 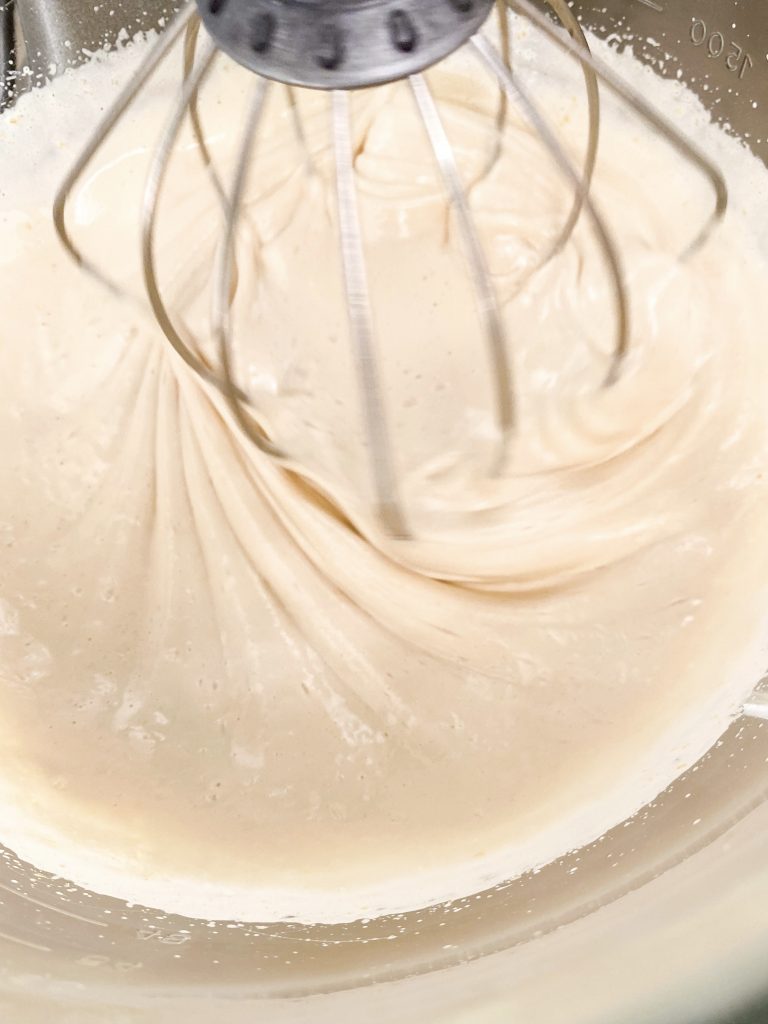
…. whisk until thick and creamy. 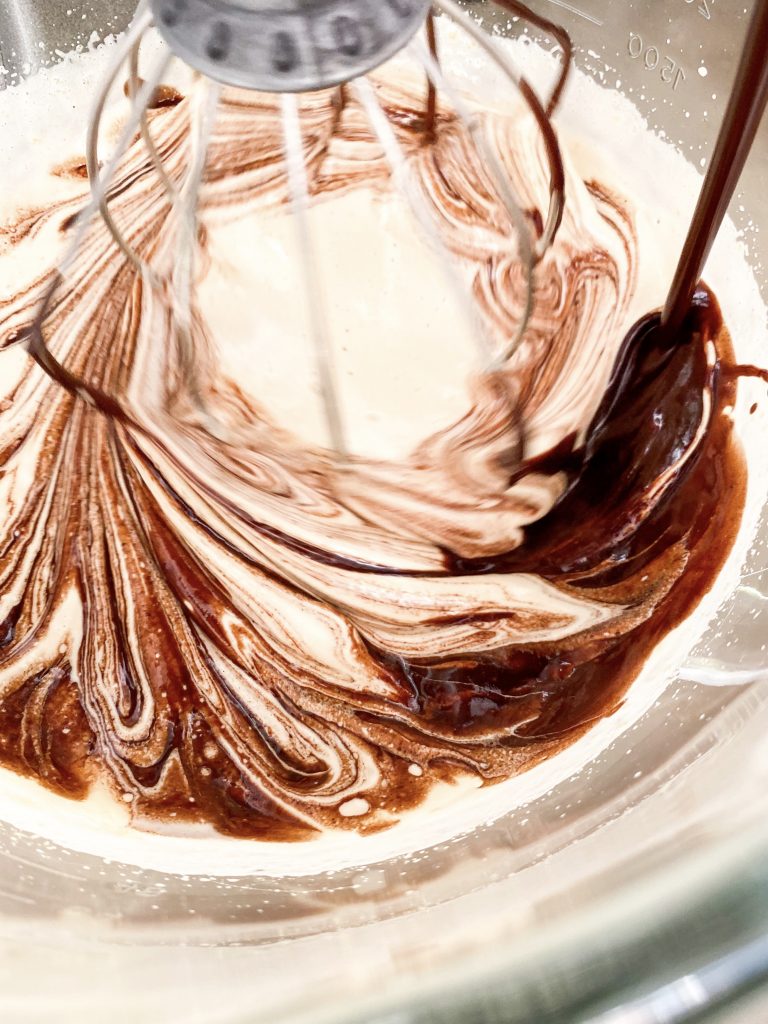
3 Pour chocolate & butter into eggs & sugar, whisking. 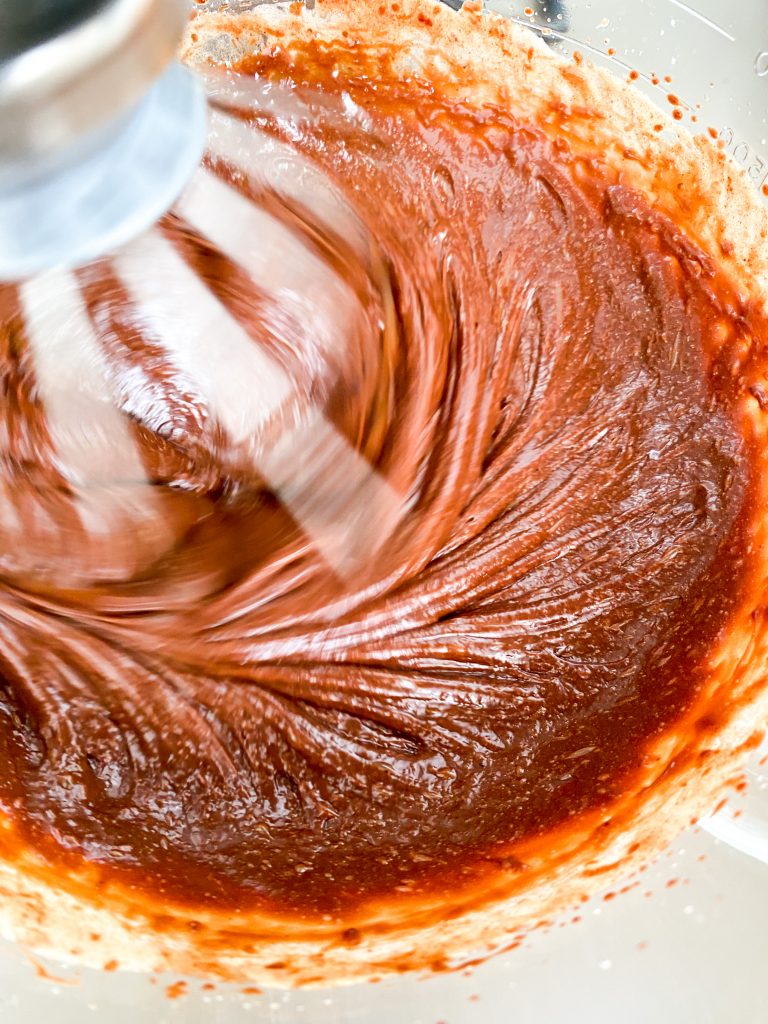
…..whisk until smooth and glossy. 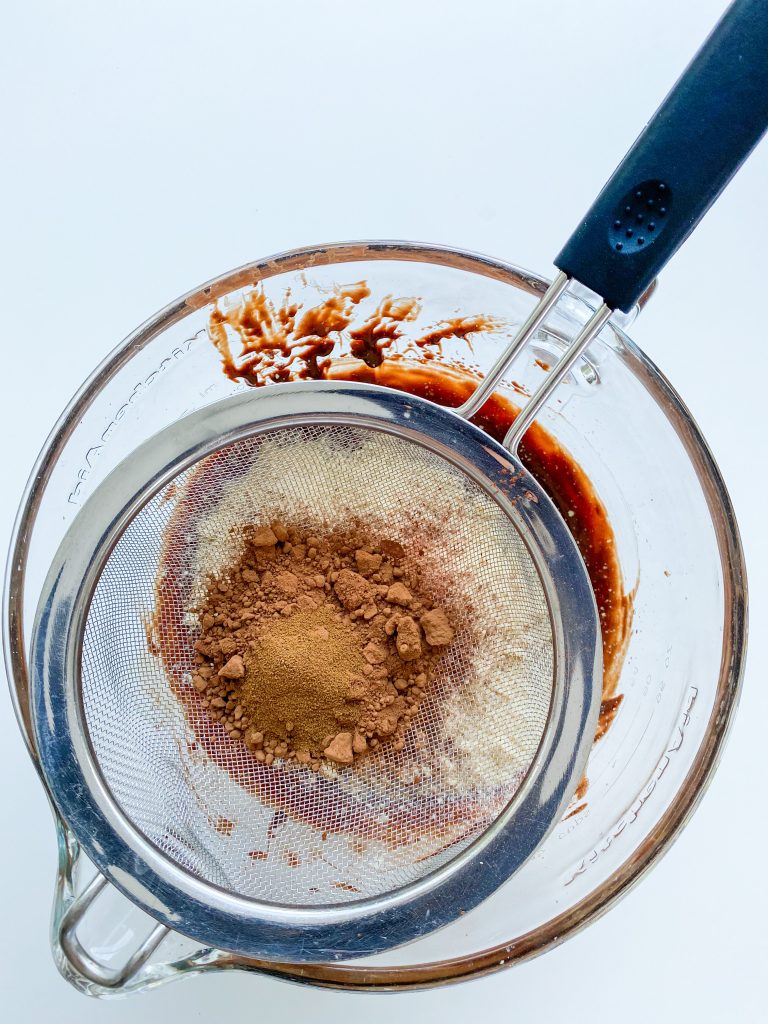
4 Add ground almonds. Place sieve over bowl, add cocoa & coffee 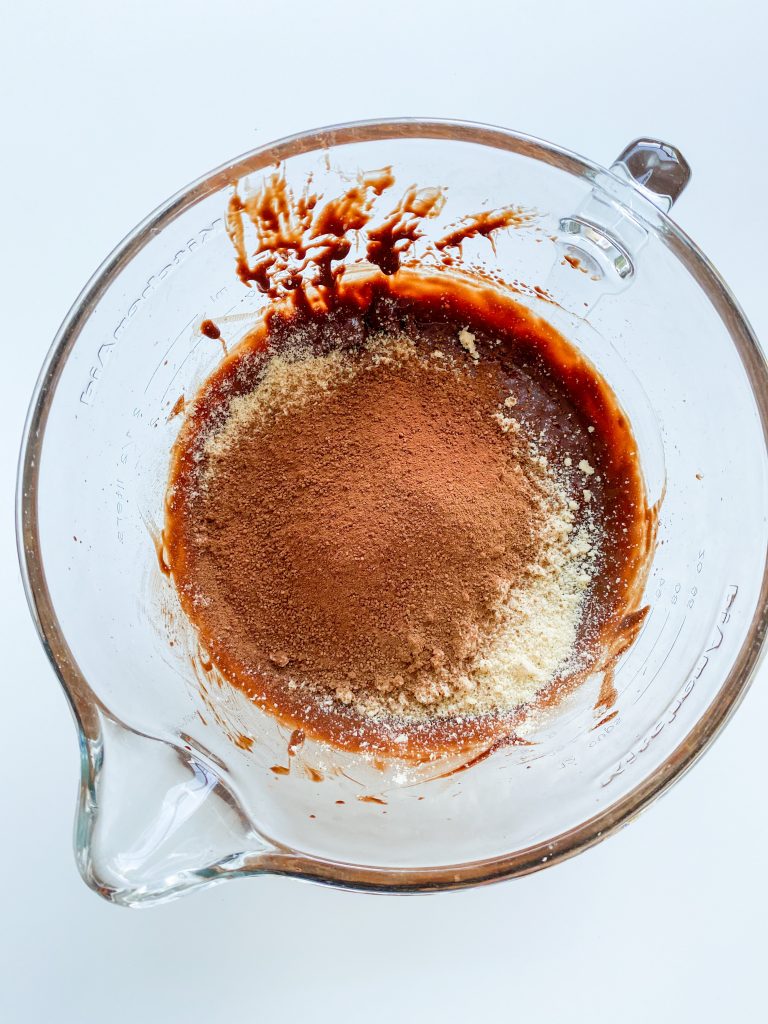
5 Sift directly over batter. 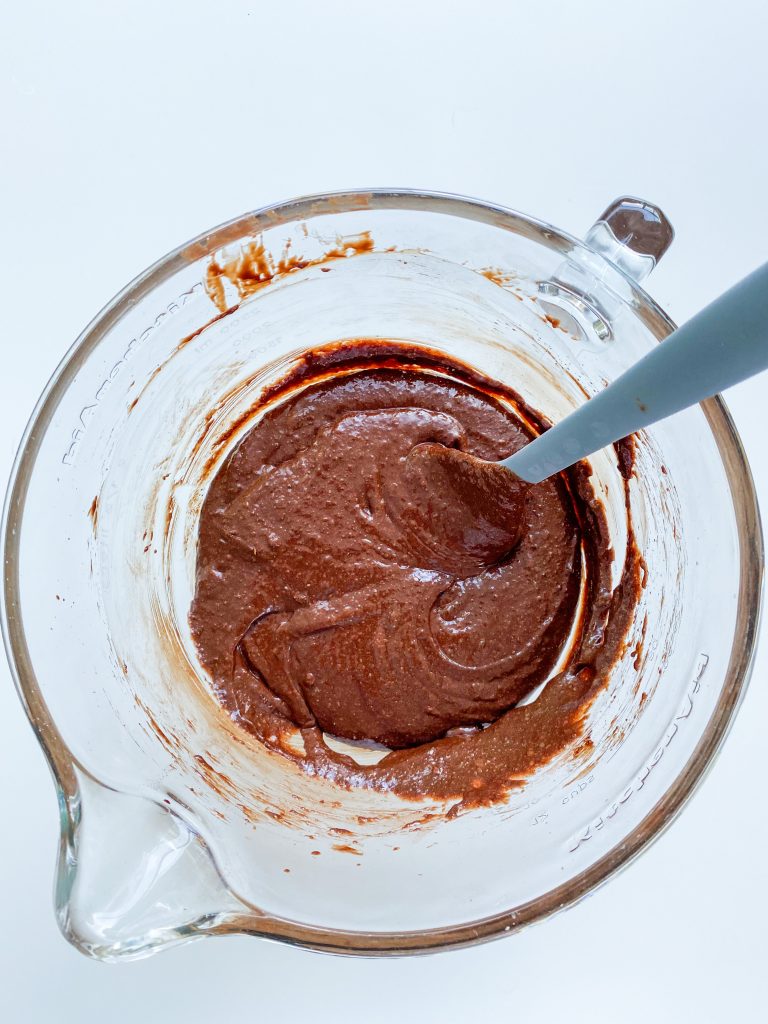
6 Fold until mixed in 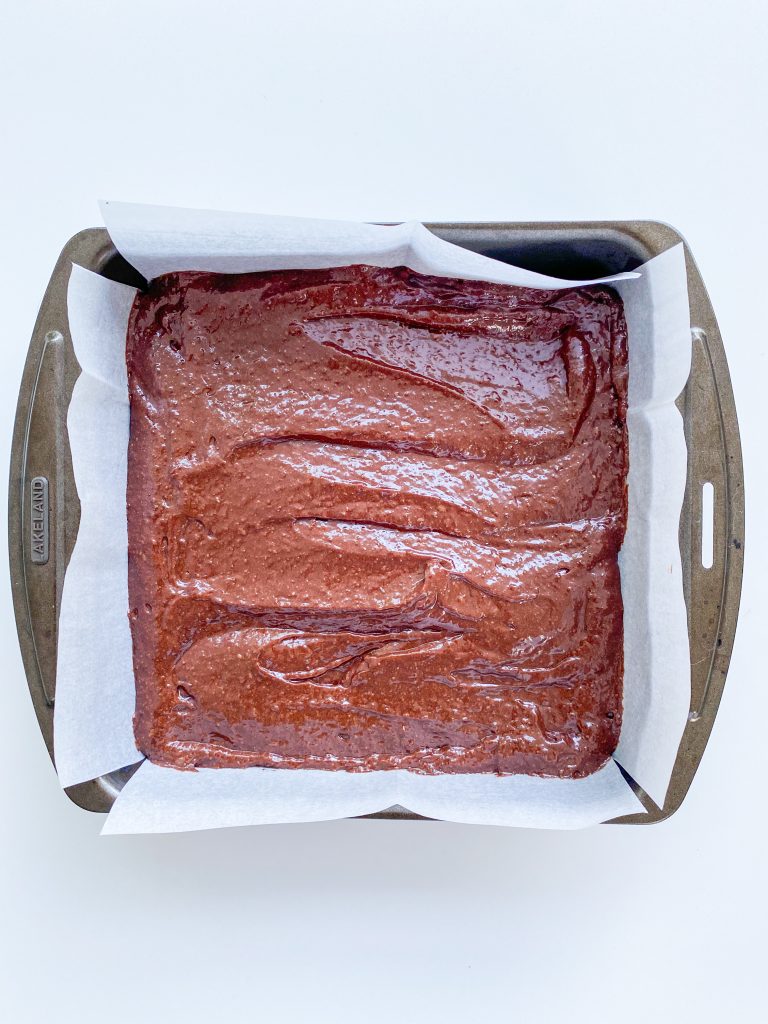
7 Transfer half to baking tin. Level surface. 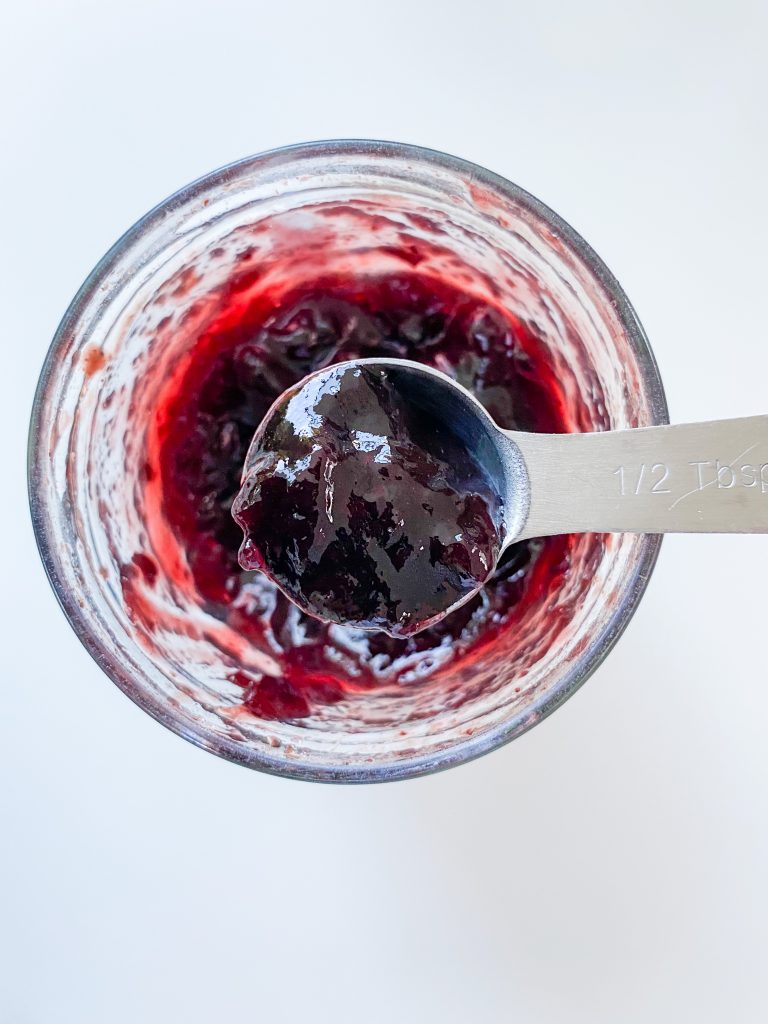
8 Dollop 1 tbl jam in centre … 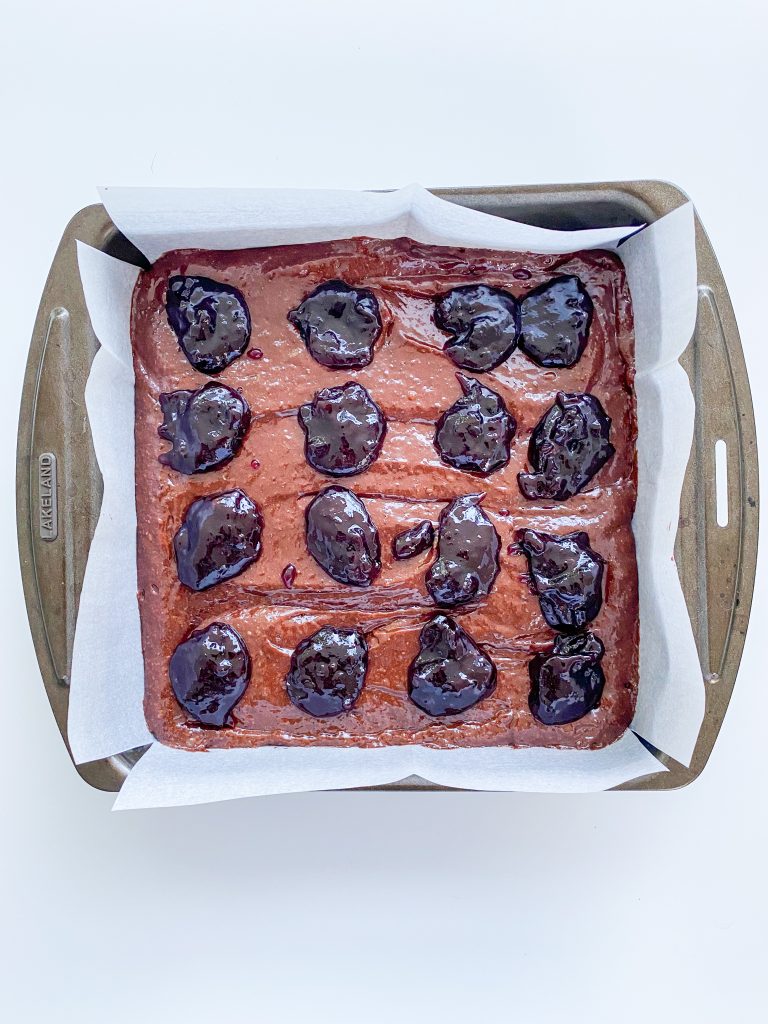
… of each brownie. 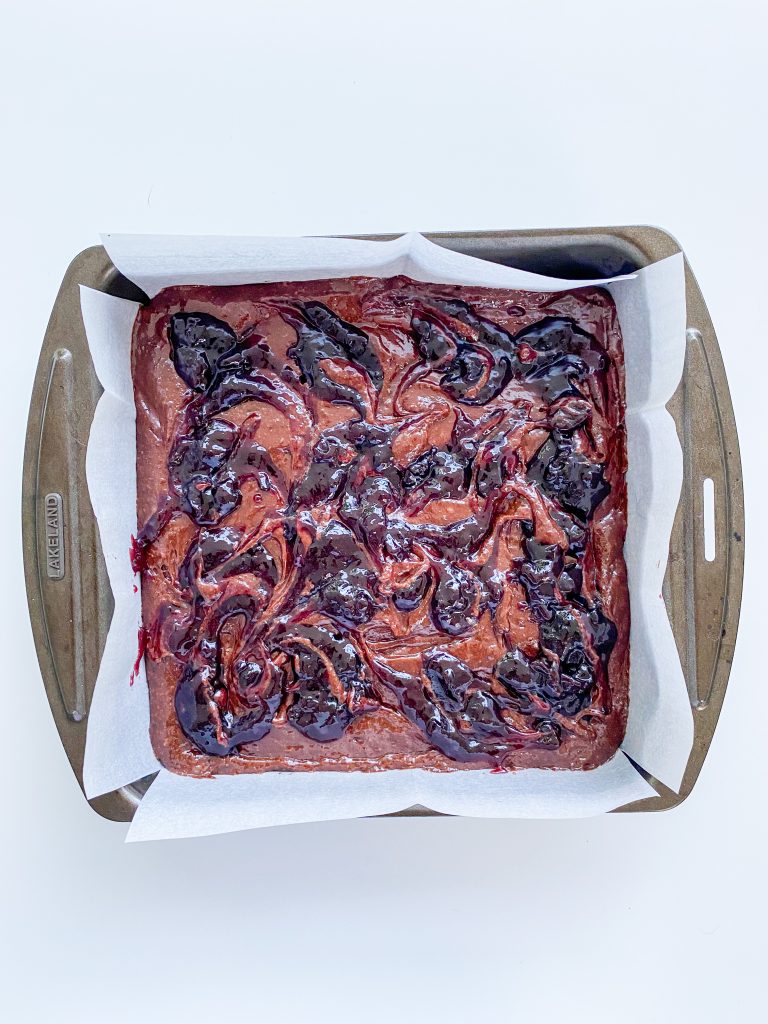
9 Swirl 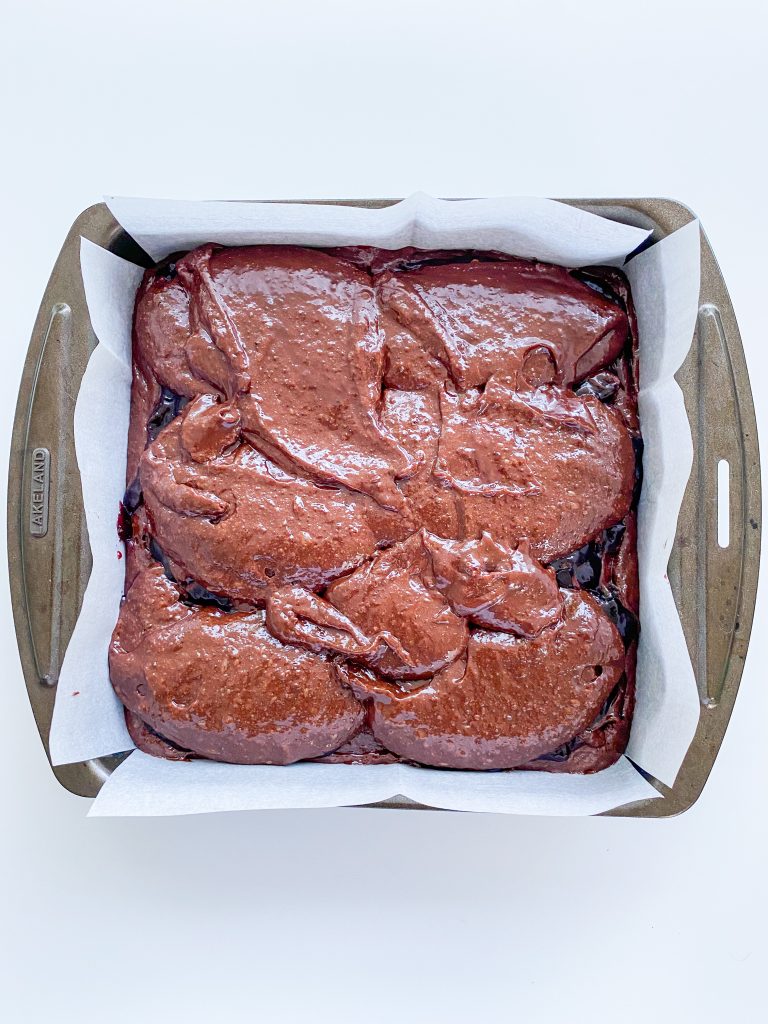
10 Top with remaining brownie mix. 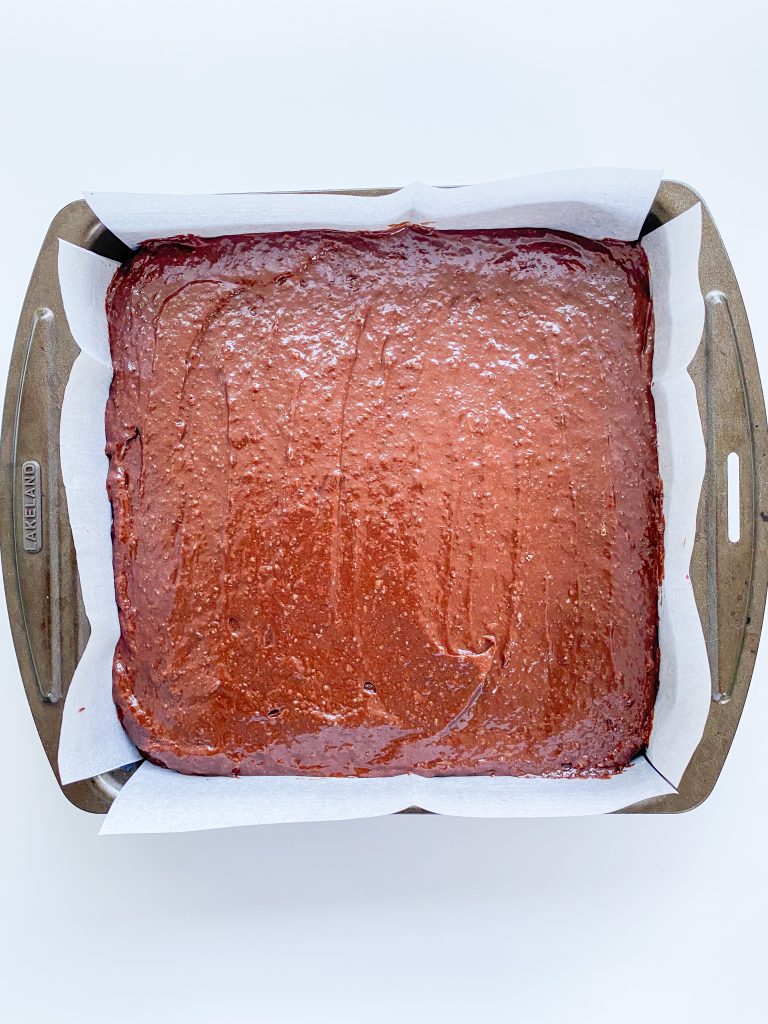
Spread out. 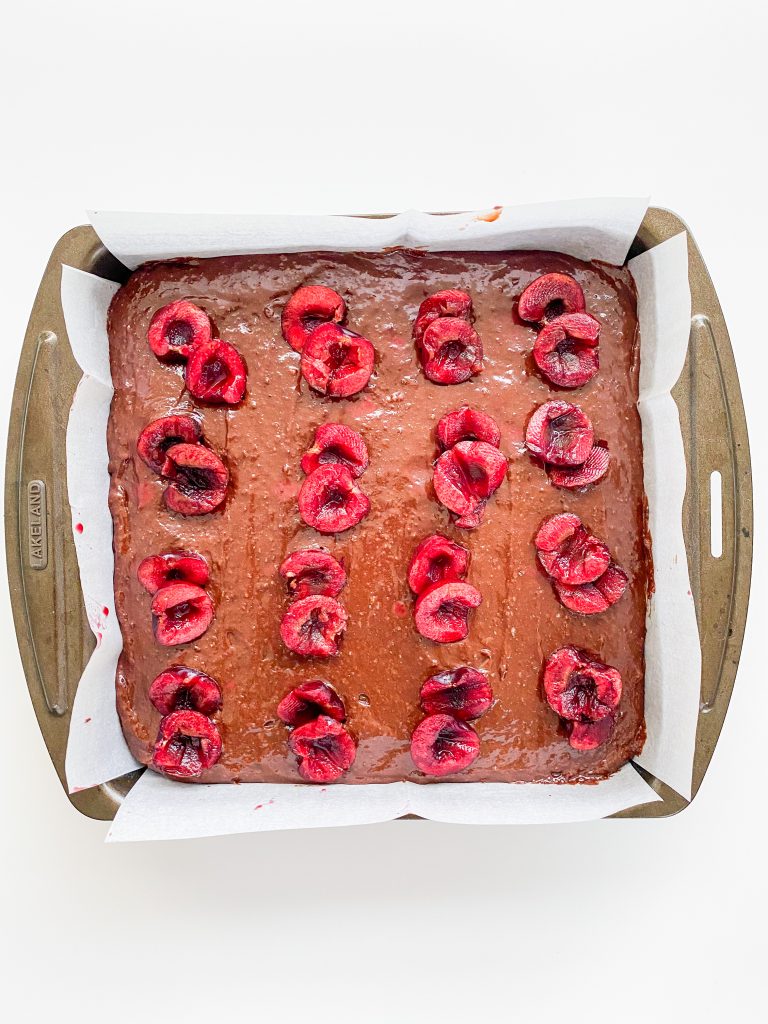
11 Add halved cherries 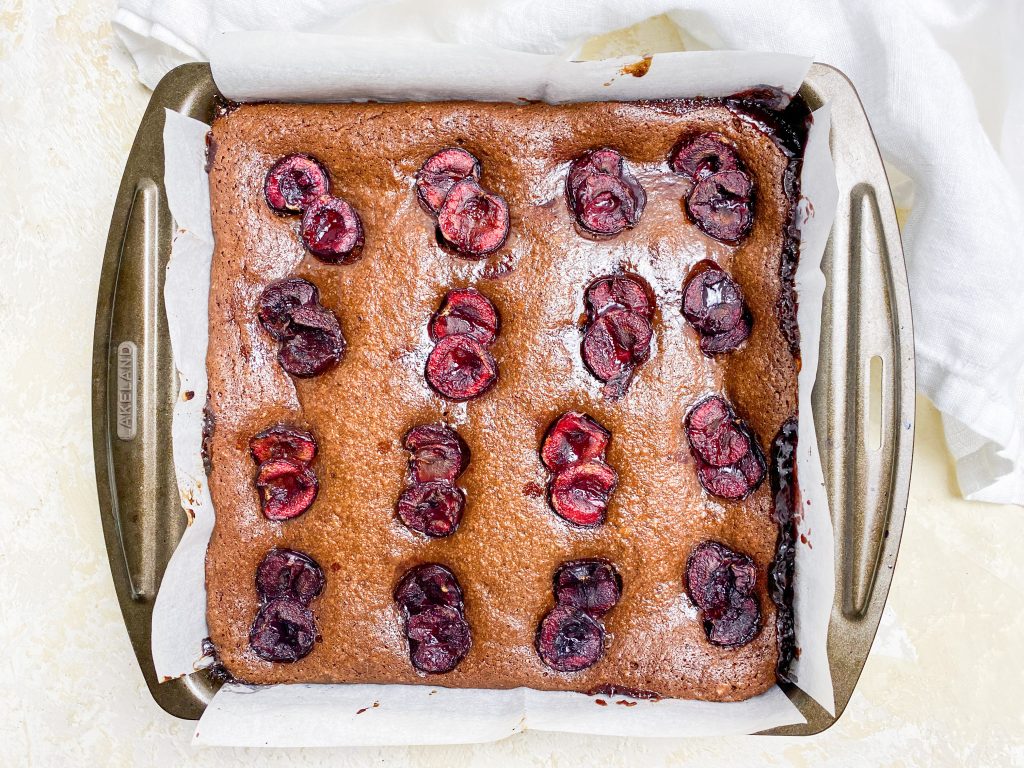
12 Bake. Slice when cold.
What is the best way to store brownies?
When you store brownies, it is important to cover them. They keep well for up to 3 days at room temperature or up to 5 days in the fridge. However, if you are storing them in the fridge, remember to take them out to warm up to room temperature before you serve them.
What is the best way to warm brownies?
I adore warm brownies for dessert, served with ice cream. If you have made the brownies in advance and want to warm them up, simply zap them in the microwave for 10 – 20 seconds. The time it takes will depend on the temperature of the brownies to start with (ie have they been in the fridge or not?), the power of the microwave and how hot you actually want them. I like mine warm, but not too hot. I recommend heating them in 10 second increments until you are happy with the heat.
If you do not have a microwave, you could warm them in the oven. Cover with foil and place them in an oven preheated to fan oven 150°C/170°C/325°F/Gas 3 for 1 – 3 minutes. (Depending on how many you are heating and how hot you want them.) Check them after 1 minute and be careful not to overheat, as you may over cook them.
Can I freeze these brownies?
Yes you can! These brownies freeze well, covered, for up to 3 months.
Made this recipe?
If you make this recipe, do please tag me on instagram @daffodil_kitchen. You could also leave a comment in the box directly below the recipe.
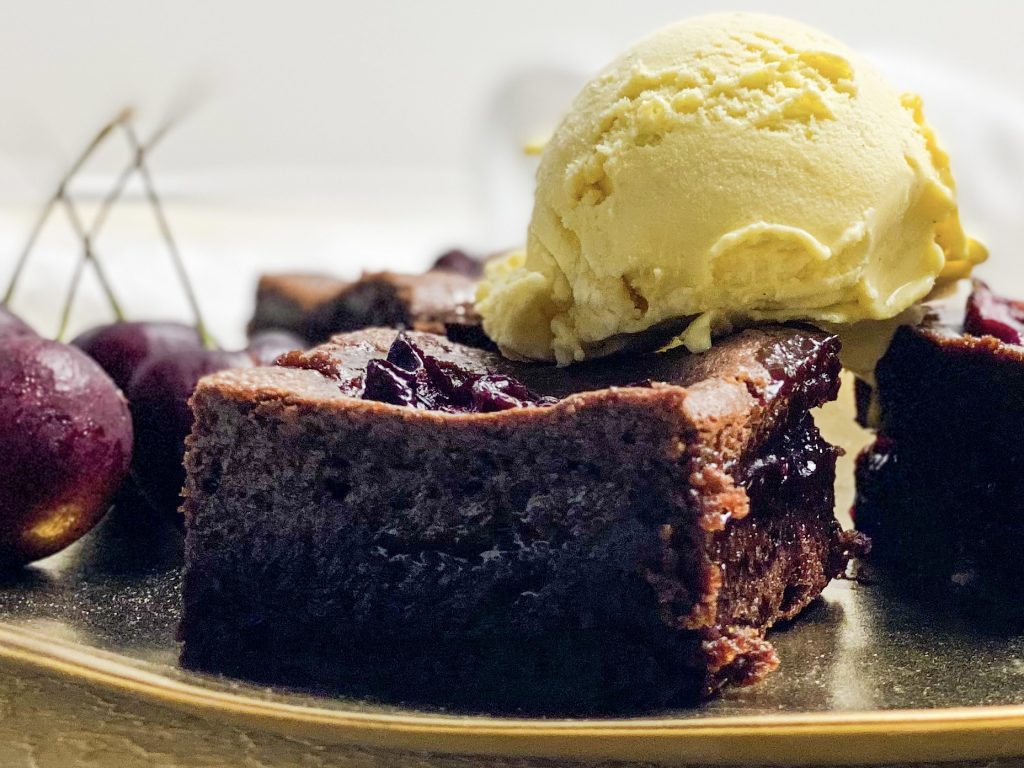

Black Cherry and Almond Brownies – Gluten-free
Silky smooth, soft and gooey luscious chocolatey brownies loaded with black cherries and ground almonds. Dark chocolate, black cherries and almonds – a match made in gluten-free heaven.
Makes 9 – 16
Ingredients
- 200g unsalted butter, in cubes
- 200g dark chocolate, 70% cocoa solids, broken into pieces
- 100g soft brown sugar
- 100g caster sugar
- 3 large eggs
- ¼ teaspoon fine salt
- 100g ground almonds (or plain/all-purpose flour)
- 25g cocoa, sieved
- ½ teaspoon instant coffee powder, sieved
- 16 tablespoons black cherry jam – roughly 320g
- 16 fresh black cherries, pitted and halved
Instructions
-
Collect together your equipment (see Recipe Notes below) and ingredients.
-
Preheat oven to fan oven 170°C /190°C/375°F/Gas 5
-
Chop the butter into squares and place in a microwave safe bowl with the chopped chocolate. Melt in a microwave or a bain marie or and mix until smooth. (See Recipe Notes for details.)
-
Meanwhile put the sugars, eggs and salt in a mixing bowl and whisk with an electric whisk until thick and creamy. This will take around 3 minutes.
-
Pour the chocolate and butter into the eggs and sugar, whilst whisking, and mix thoroughly with the electric whisk until smooth and glossy.
-
Add the ground almonds, put a sieve over the bowl and add the cocoa and coffee.
-
Sift directly over the cake batter.
-
Fold until completely mixed in but be careful not to over-mix at this stage.
-
Transfer half of the mixture to your baking tin and level the surface, making sure the cake batter goes all the way into the corners.
-
Give the jam a good stir to completely loosen it. Dollop around 1 tablespoon roughly in the centre of each brownie.
-
Take a knife and gently swirl the jam so that it spreads a little through the brownie but the there is still more jam in the centre of each brownie than at the edges.
-
Next carefully top with the remaining brownie mix, making sure the cake batter goes all the way into the corners.
-
Now halve and de-pip the 16 fresh cherries. Place two halves in the centre of each brownie.
-
Cook in the centre of the oven for 20 – 25 minutes, depending on how squidgy you like the centre to be. It will carry on cooking when you take it out of the oven so bear this in mind. (I cook mine for 24 minutes in London and 25 minutes in Switzerland.) This gives me a slightly crispy top but a very gorgeous gooey centre. The cake will be slightly risen and cracked around the edges but the centre will feel quite soft. Remember the cake will continue to cook after you have taken it out of the oven.
-
Leave to cool in the tin for 20 – 30 minutes and then transfer, in the baking parchment to a cooling rack.
-
When the brownies are cold, lay on a chopping board and cut into 16; they are rich and this size is big enough for me. If you want more, you can have another one!
-
If I have time and/or if I want my brownies to look really smart, I put my brownies in the fridge to harden before I cut them. You will get much better lines and edges. Remember to let them come to room temperature before serving though.
Recipe Notes
Equipment
- Large microwave safe jug or heatproof bowl
- Electric whisk and mixing bowl
- Kitchen scales and measuring spoons
- Sieve
- Chopping board and knife
- 20cm/8inch square baking tin lined with baking parchment
Be very careful melting the chocolate. Chocolate can be very difficult to work with. You can overheat it very easily and the mixture will go grainy. When this happens, there is no way to resolve it I’m afraid!
Microwave: I give the chocolate and butter a minute in the microwave, take it out and stir it well, then let it sit for a few minutes to see if it continues melting sufficiently to melt all the chocolate. If not, I then continue with the microwave but in 10 – 15 second bursts.
Bain Marie: if you do not have a microwave, put the chocolate and butter in a heatproof bowl over a saucepan of gently simmering water. Do not let the base of the bowl touch the water. Heat until the chocolate and butter are very nearly melted then take it off the heat and take the bowl off the saucepan. Be very careful not to burn yourself as the bowl will be hot and steam will escape from the saucepan. Allow the mixture to sit for a few minutes for the residual heat to melt the remainder of the mixture. Again, be careful not to over-heat.
What is the best way to store brownies?
When you store brownies, it is important to cover them. They keep well for up to 3 days at room temperature or up to 5 days in the fridge. However, if you are storing them in the fridge, remember to take them out to warm up to room temperature before you serve them.
What is the best way to warm brownies?
I adore warm brownies for dessert, served with ice cream. If you have made the brownies in advance and want to warm them up, simply zap them in the microwave for 10 – 20 seconds. The time it takes will depend on the temperature of the brownies to start with (ie have they been in the fridge or not?), the power of the microwave and how hot you actually want them. I like mine warm, but not too hot. I recommend heating them in 10 second increments until you are happy with the heat.
If you do not have a microwave, you could warm them in the oven. Cover with foil and place them in an oven preheated to fan oven 150°C/170°C/325°F/Gas 3 for 1 – 3 minutes. (Depending on how many you are heating and how hot you want them.) Check them after 1 minute and be careful not to overheat, as you may over cook them.
Can I freeze these brownies?
Yes you can! These brownies freeze well, covered, for up to 3 months.
More from my site
 Oreo Chocolate Brownies
 Toblerone Brownies with Almonds and Honey (Gluten Free)
 Roast Hazelnut and Dark Chocolate Brownies with Milk Chocolate Chunks (Gluten-free)
 Orange and Almond Blondies with White Chocolate Orange Mini Easter Eggs
 Hot Mocha Brownies with Coffee Cheesecake Swirl and Kahlua
 Chocolate Mini Egg Brownies

Tragatá, Ronda, Andalusia, Spain
You May Also Like
Coconut Cake with Coconut and Vanilla Icing
3rd August 2022
Lemon Drizzle Slice with a Crunchy Sugary Top
8th February 2022

One Comment
Ivy Price
Your recipes are really fantastic and like I’ve said before beautifully presented.Diolch yn fawr